
The Petite No.1 was Century’s low cost option for people looking at 4×5 cameras. This particular specimen was made around 1906 (give or take a year), and came equipped with everything one would need for taking basic pictures; a ground glass back for precise focusing, or snap shot style using the focusing scale on the bed and the viewfinder. Also included was a good Century (Bausch and Lomb) 6½” Rapid Rectilinear lens with instant, bulb or time modes, and a simple rise and fall adjustment. My copy is all original, including the bellows (which is still light leak free after 113 years!) and the Bausch and Lomb No.3 shutter with a (still working) pneumatic actuator. The only thing missing is the bed mounted viewfinder, (normally attached on the left side on early models like mine, and on the right in later models), which sucks, however, that lowered the price to where my budget was, and I wouldn’t use it anyways, it’s too hard to compose with properly; and 4×5 sheets can be a little hard on one’s budget.
The Petite Century is a very attractive and somewhat delicate looking Camera; I like the material and finish choices such as the Mahogany wood body, black brass shutter and lens; red leather bellows, the nickel coated hardware, and black outer coverings; they all go together very nicely in my opinion. Believe it or not, the Petite is really ‘petite;’ it’s actually about the same size folded up as a modern digital mirrorless with 50mm lens, and much lighter; check out the picture below.
The 4×5 format has been considered a ‘professional’ size for the last 50 or 75 years, however, at the turn of the twentieth Century it was mainly a budget minded option for amateurs wanting to use plates, and later sheet film. There was a ‘Baby’ Petite too, using 3 ½ x 4 ½ film, and it was slightly less expensive than the 4×5 version. This Petite Century No.1 is advertised in a 1906 catalog as being ‘so easy to operate, even a novice can readily make good pictures.’ As a beginners model, and as the name suggests, the 4×5 Petite was very small and lightweight, in fact, Century used the terms ‘snap shot’ and ‘hand camera’ in their catalogs of the day.
Century Camera Company was located in Rochester NY, near the Eastman Kodak Company, and shortly after this camera was made, Kodak bought Century, but continued to use the ‘Century” name for quite a long time.
How about taking a break from work for a moment and step inside the Photojottings time machine, during the ‘good ole days,’ and before lithium batteries and electronic contraptions made our lives more cluttered and boring…
Name; Petite Century No.1, 4×5 version.
Manufactured by; Century Camera Company, Rochester NY, USA.
Original Price: About $13 in 1906 for the 4×5, and $10 for the 3 ½ x 4 ½. Current ebay prices are roughly $100-$350.
Build material; Mahogany, with a red leather bellows, nickel plated hardware, and black brass shutter and lens.
Box contents; probably just the camera and instruction manual.
Date of manufacture; around 1905-7.
Weight; camera only, 21.6oz (612g). Original wooden double plate holders are 85g each, but modern Lisco, Fidelity, and Regal etc types are about 180g.
Dimensions; 5.0″ (130mm) wide, 6.0″ (154mm) tall, 2.12″ (55mm) deep, and 7.75″ (196mm) when extended.
Focal length; 6½” or 165mm. A rough comparison to a ‘full frame 35mm’ lens; 50mm, F/2.8 for capture area and depth of field.
Aperture; indicated US (uniform system) stops, F/4, F/8, F/16, F/32, F/64, and F/128, plus slightly smaller, maybe close to F/256 when the lever is pushed all the way over. Normal F/stops would be F/8, F/11, F/16, F/22, F/32, F/45 and close to F/64.
Focusing distance; 5′ to 100′. Scale on bed marked in feet only.
Prints; originally about the same size as the negative. Good film and proper technique today will make very sharp 11×18″ or larger prints.
Approximate resolution; , similar to a 24mp digital sensor camera with kit lens.
Lens; Bausch and Lomb F/8, 6½” (about 165mm) uncoated Rapid Rectilinear (four elements in two groups) design. Focusing is done by moving the entire lens and shutter unit.
Shutter and speed; aperture has 9 blades, one ‘instant’ speed only, about 1/90s, along with ‘T’ time mode, and ‘B’ bulb mode. The instant shutter self-cocks after firing. Time mode works by pressing and releasing the shutter button once to open, and a second time to close. Bulb mode works by pressing down and holding the button, (or bulb), and then releasing to close.
Features; two ¼-20 tripod sockets, two ground glass viewfinders, one for viewing horizontally, and one for vertical orientation. It also has a shutter throw-back feature for viewing your composition after you’ve set the shutter and aperture.
Film; 4×5 glass plates or sheet film.
Accessories for this model; film holders, and a leather carrying case for your bicycle.
Crippling features and omissions; none, it’s a beginners model that’s very easy to use.
Product shots with descriptions.

To open the camera, you’ll need to press a button on the top, just above the little brass tab shown here, it’s hidden underneath the coverings, but a circular outline will let you know where it is. The front cover or bed should be lowered until it ‘snaps’ into place. The lens and shutter assembly is stored inside the camera; this one has a bellows mis-fold on the right side in the picture. To close the front, simply push in at the top part of the bed supports.

This is how the camera looks after you open the cover and pull out the lens standard, it’s focused at infinity here, and you need to extend it all the way to the end of the bed when focusing close. Be careful when pulling out the lens like this, especially after it’s been stored for a long time, the bellows may be a bit sticky and stiff, and you’ll end up tearing it. Also, don’t extend the lens past the close focus mark, it puts strain on the bellows, and after a hundred or more years it just might rip, and that would be bad news.

A close up of the Century Petite reveals a several important features. Press the two round buttons on each side of the ‘Century’ nameplate and ‘slide’ the whole lens standard forwards or backwards, when released, the lens standard should not move unless pushed or pulled hard. If this device is really worn, you may have to put some tape along the slide to keep it at the proper focus setting for your picture. This model doesn’t have a rack and pinion or geared thumbscrew type of focusing of a typical view camera.
The pointer and focusing scale is located on the right side as you look down at it. My copy is off a bit when compared to the focus on the ground glass screen.
The lens and shutter assembly is black painted brass; I quite like the looks, even worn as it is now. The aperture scale is marked in the old US or ‘uniform system,’ but it’s easy to convert to the ‘F’ stop system if you remember the aperture setting of ’16’ is the same for both, and you simply add or subtract one stop for each mark on the scale above or below 16. See the ‘aperture’ information in the introduction for direct equivalencies. The shutter dial is on the right in the picture, and the settings are T-I-B. The ‘T’ setting is for ‘time’ exposures; a single press opens the shutter, and another press closes it. The ‘i’ is for ‘instant’ which is for taking snaps with the viewfinder and using the focusing scale. The ‘B’ is for bulb; a single press down keeps the shutter open, and then it will close after releasing. FYI, don’t use the bulb mode with an actual bulb for any exposures longer than a few seconds; after you squeeze it, it’ll eventually run out of pressure, then the shutter will close, and your hand will cramp up from squeezing the bulb so tight trying to keep the shutter from closing early. Use the ‘time’ setting for more control over long exposures.
The cylindrical item on the right side of the lens, (left in picture) is a pneumatic shutter actuator. The hose (I wonder if the hose and bulb came with the camera originally?) attaches to the nipple on the bottom, and when you squeeze the bulb it creates air pressure, and moves a piston until it protrudes out the top, and subsequently trips the shutter lever, which is resting on the piston face in this view. You don’t need a bulb to trip the shutter, just raise the lever about 3/8″ until it trips.
The Century Petite has a rise and fall feature. The round knob that looks like a gear beside the pneumatic actuator is for locking the lens and shutter assembly; here it’s centered, but you can either lower or raise the lens for minor perspective correction or elimination of some sky or foreground.
Finally, the lever under the lens, (just beside the aperture scale) is a device for throwing back the aperture blades for checking focus; this is a nice feature, just don’t forget to return the lever to the closed position, otherwise your picture will be ruined!!

The viewing glass cover opens via two small rotating catches, and is held in place by just the leather covering, not by metal hinges. My cover as become detached, but not evident in this view.

Here the Petite is all ready for a shoot mounted on top of a normal size period tripod; the camera is so small it looks a little funny here, even the bulb is bigger than the lens and shutter.

The Petite is quite compact when folded up and really doesn’t have a larger footprint than a typical small mirrorless camera with 50mm lens, and is much smaller and lighter than an old school DSLR. The Petite weighs about 612g, and the Sony on the right about 791g. Well ok, add two original double sided wood film holders for the Petite and they weight about the same.
Sample shots below.
Here are some samples taken with fresh film. I cut this film from larger stock, so you can see some scratches here and there. They’re around 4500 pixels long, so click for a larger version. Scanned on an Epson V700.

Our standard mountain test scene, F/45, or US128 and 4 seconds. I see a little blur along the left side, but I was using the original holder, and it was binding up against the ground glass back springs, and not laying flat; newer plastic holders such as Lisco, Regal etc work fine, that’s what I used for the B&W pictures below. I guess I should’ve trimmed the bellows as I see some whiskers around the entire perimeter. The color and contrast of the Rapid Rectilinear is quite good, especially when you consider the lens design is over 150 year old. I need to clean the scanner as I see some lines in the even toned areas like the sky. Kodak Ektar 100.
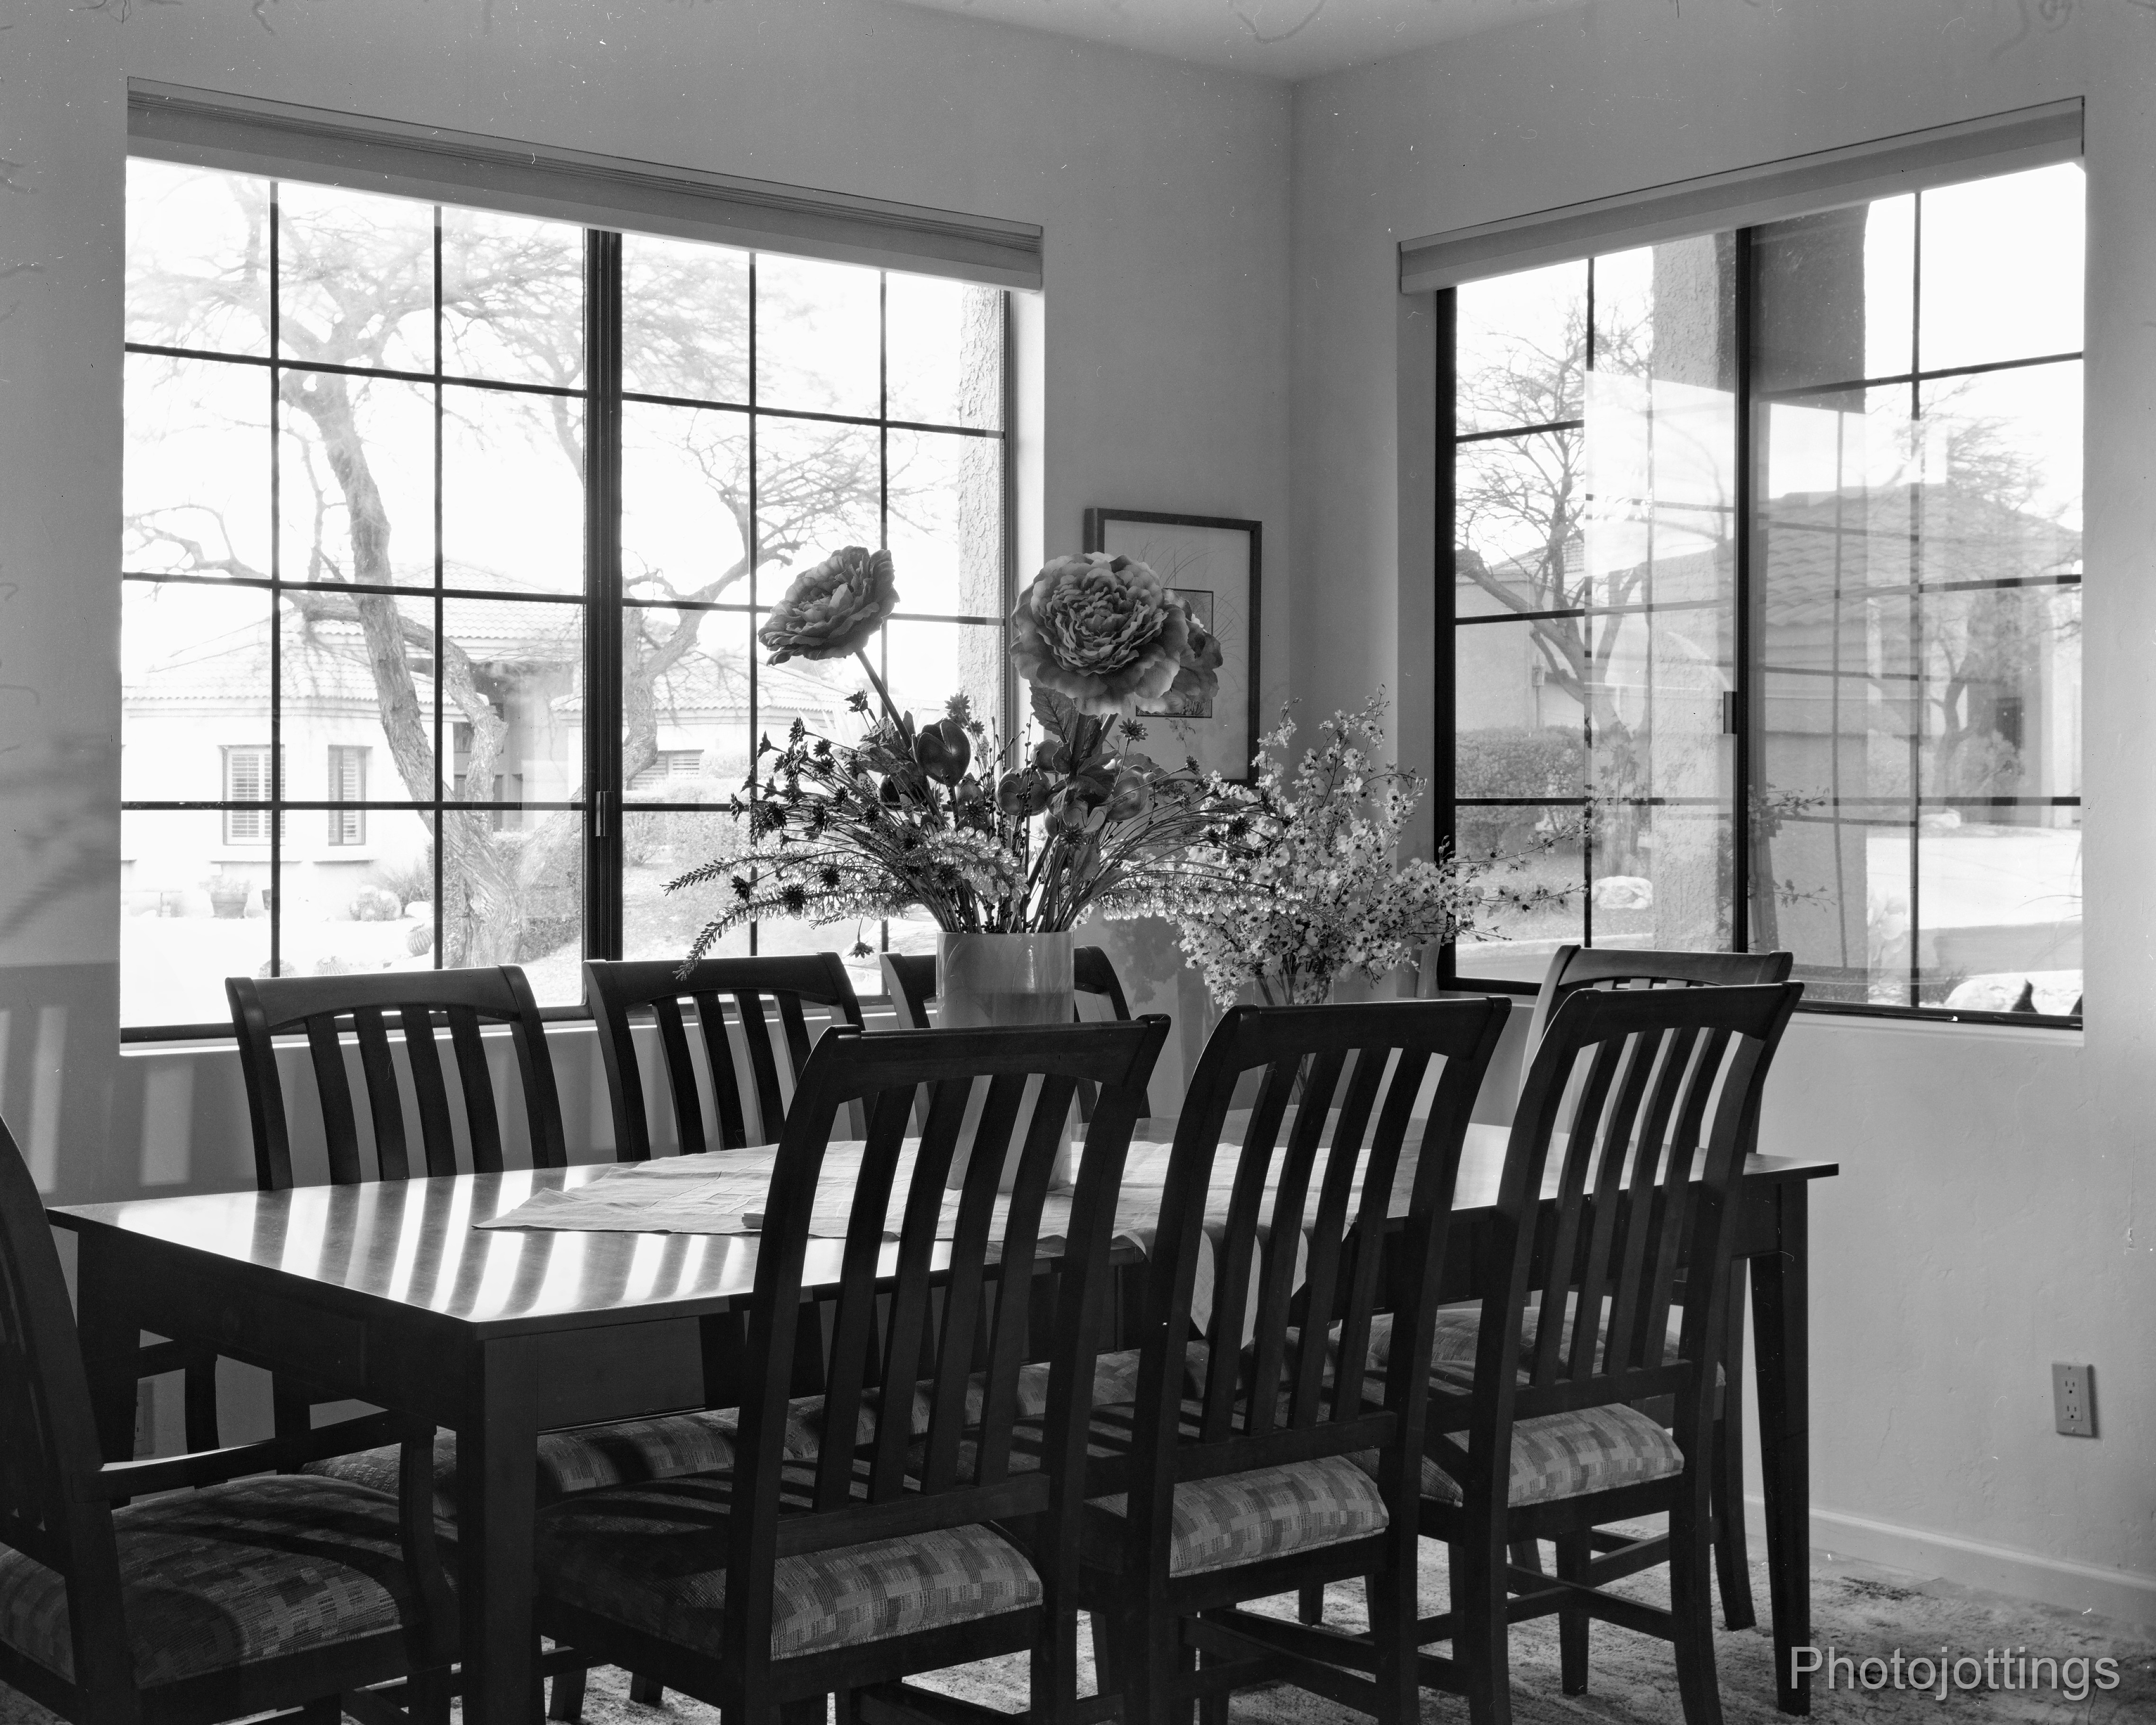
Dining room flower feast. Taken at F/32, ten seconds. Focused on the flowers in the center of the table. Ilford Ortho Plus 80.
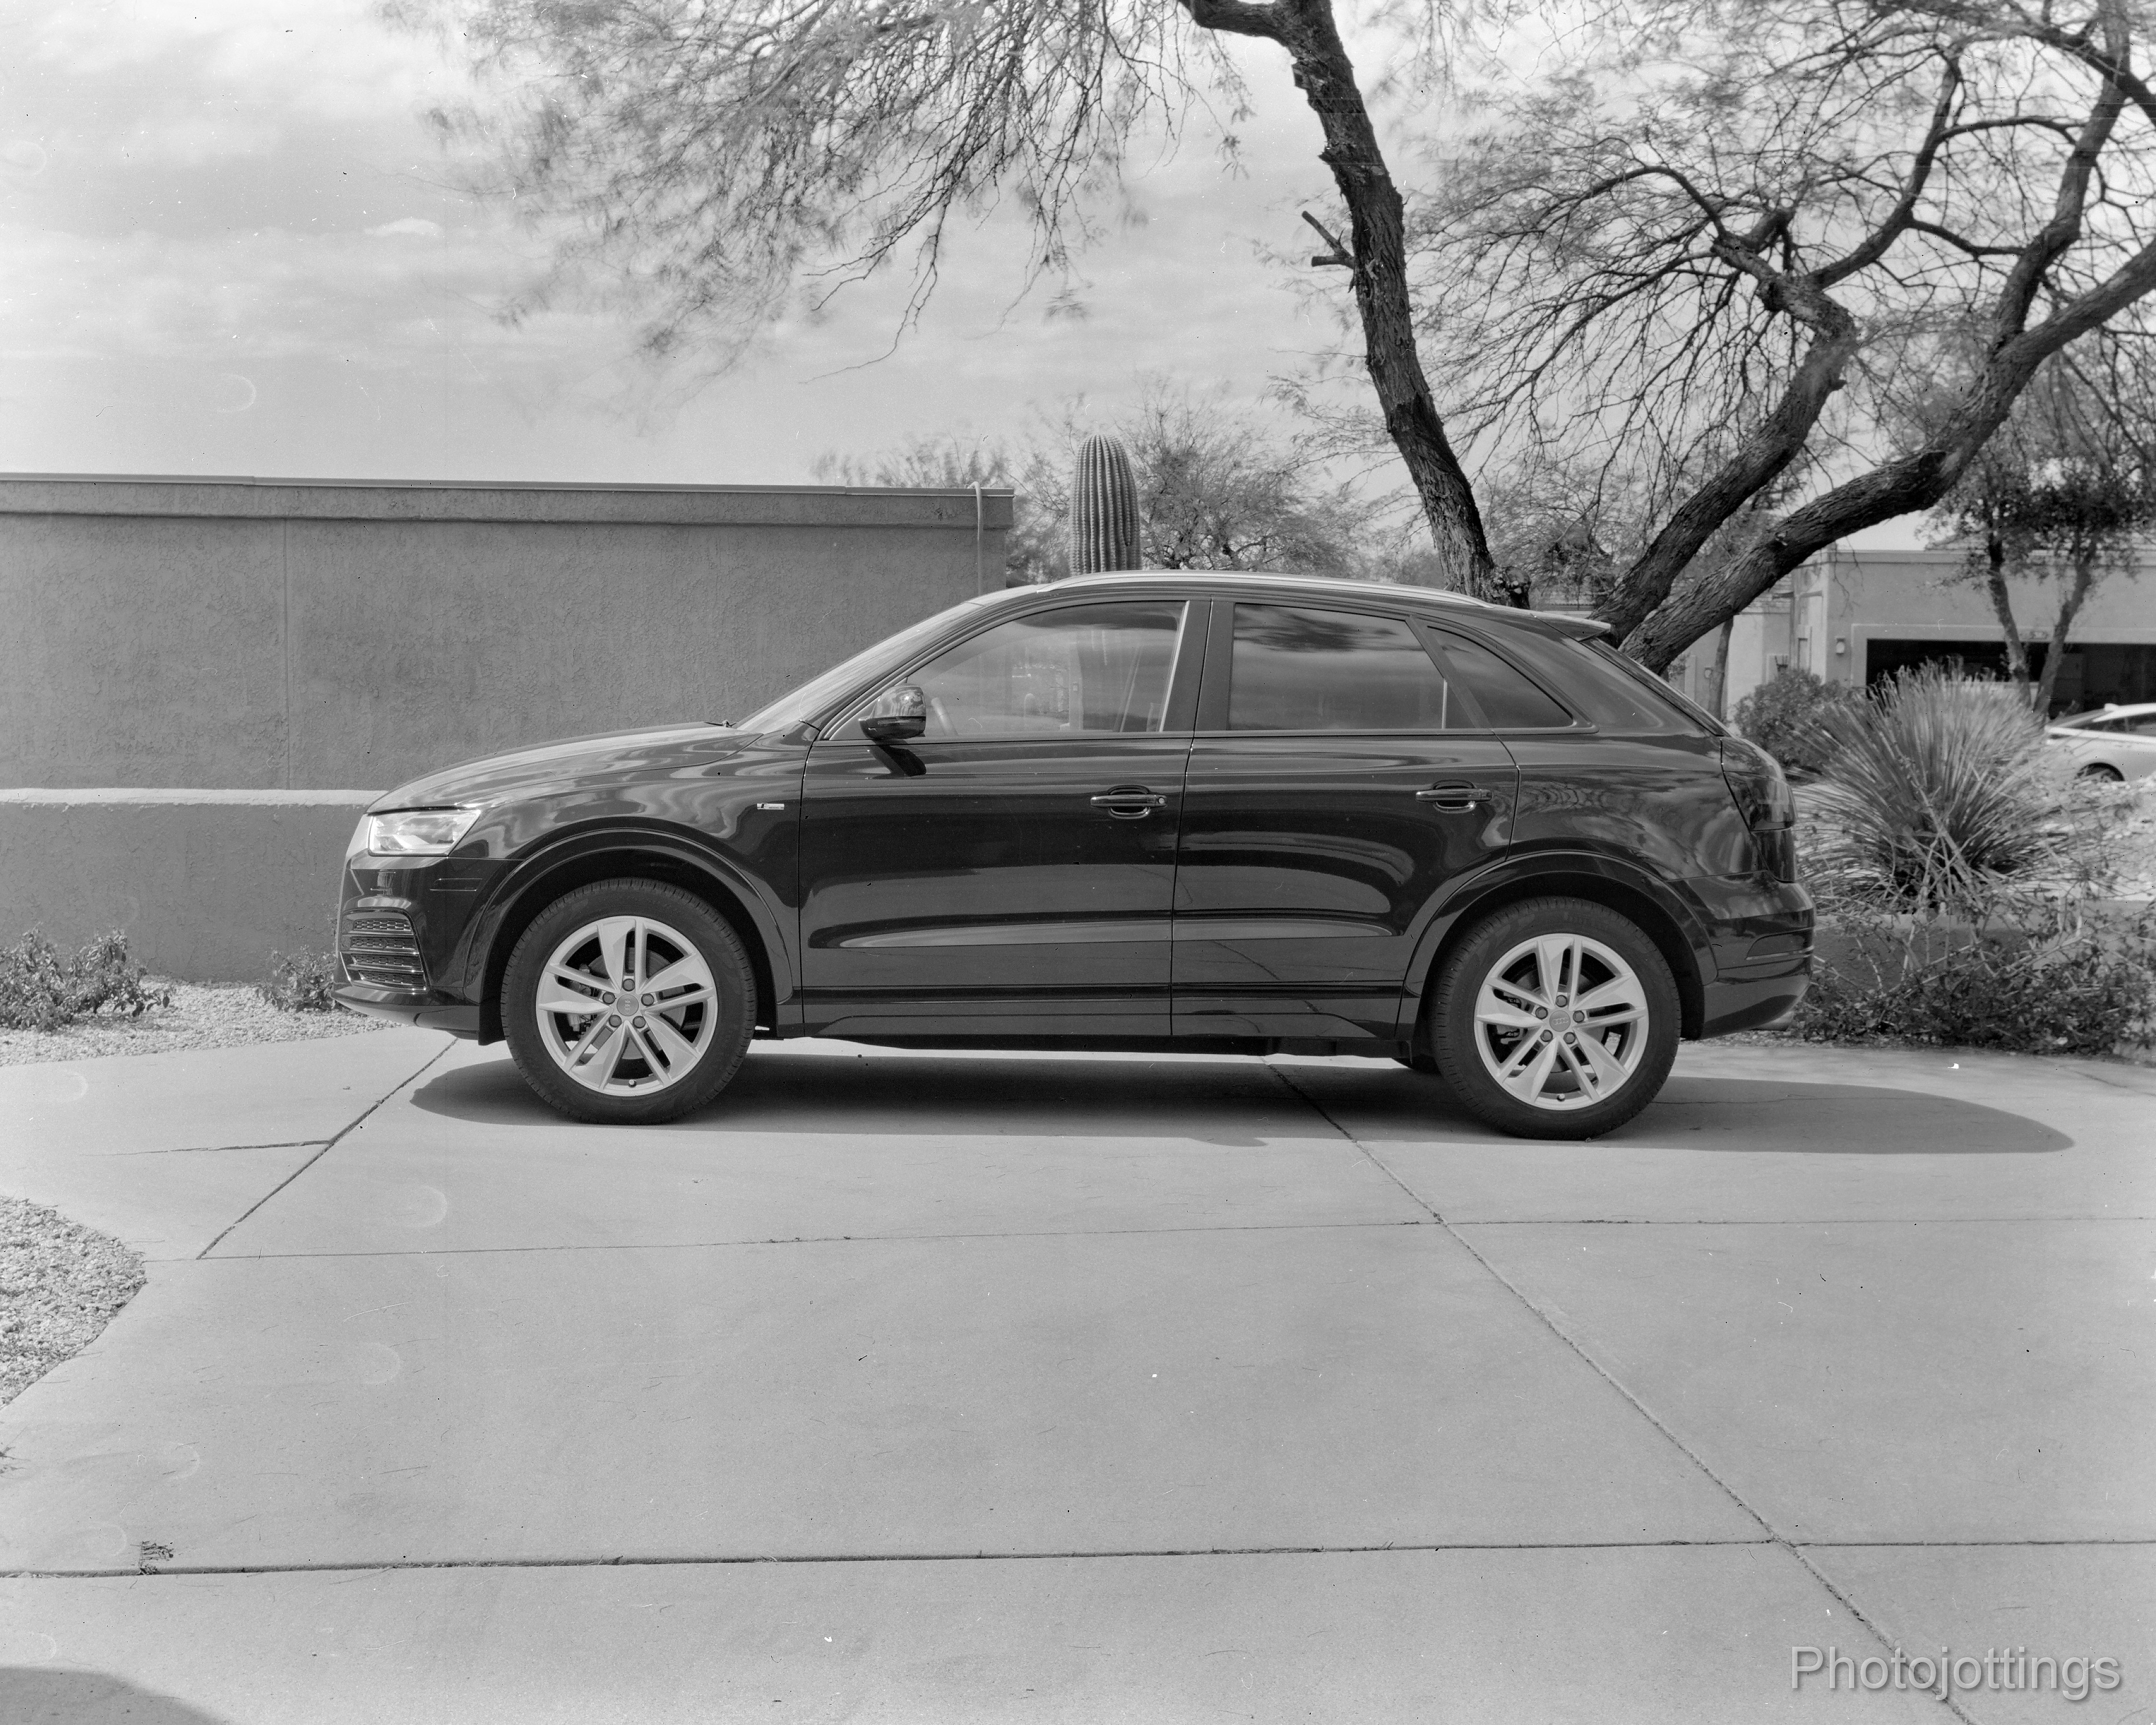
This car is actually an orange/red, but Ortho film doesn’t respond to reds, and they come out as black, and blue skies are white. Ortho film gives you the classic look of old photographs from the late 1800s to early-mid 1900s because that was just about the only type of film available then. I buy this relatively cheap film in 8×10″ sheets and cut it down for odd-ball size cameras, like post card 3¼ x 5½, Kodak 4A 4¼ x 6½, or 3¼ x 4¼. Ok, 4×5 is not odd-ball, but I have a bunch of this stuff, and I wanted to use some of it up. Also, you can use a red safelight in the darkroom for seeing your cut marks on the trim board; and the best part, during processing, you can adjust the development time until you like what you see!

This collection of pillows was quite colorful in real life, but it’s a little boring in B&W. The lens was stopped down hard, but the detail is still excellent. Taken close-up around 6′ and near F/64 (US256) at 10 seconds. Ilford Ortho Plus 80.
Conclusion.
The Century Petite No.1 was fun to review; I bought it a long time ago and have taken it out several times to practice with. This little camera is about as small and lightweight as you’re going to get with 4×5, and it looks great with the mahogany finish, nickel hardware, red bellows and black painted brass lens. As I carried the ‘Petite’ around taking pictures, I received a lot of positive compliments, at least on the camera…
With the Petite being so small and light, there is the possibility that you can carry it around like you would a larger medium format camera, like the hefty Fuji 6×9 rangefinders. The camera with two film holders (four shots) still keeps you under the weight of a larger 35mm camera, or way under the Fuji 6x9s. But the burning question is; is it practical to do this? And the answer is…probably not. The big 6x9s will give you better color and contrast with much more detail, plus eight picture per roll. However, with that said, I think it’s fun to use a camera as old as this one; the picture taking process is much different than roll film cameras, it’s easy to tray develop your B&W sheet film, and it makes a great conversation starter at your typically boring family get-togethers.
Let’s talk about using the camera. Rapid Rectilinear lenses are pretty good as long as you know their limitations. If you want sharp pictures for enlarging, you’ll need to keep the aperture stopped down, at least to F/16-22 (US 16-32), and better yet about F/45 (US 128). If you’re taking pictures with the lens wide open, you can expect soft images, I took a few at F/8-11 (US 4-8) and was a bit disappointed, however, if you’re printing the pictures at 4×5″ they’ll look fine. I use a tripod for all my shots, because when you stop down the aperture, the shutter speeds become quite slow, and you need to carefully focus with the ground glass for the sharpest pictures. If you’re careful with each shot, you’ll have enough resolution to make some very large prints for your home or office, and for added excitement, (and to complete the scene), display the camera next to the picture!
So that’s it for the Century Petite; I really like it and it’s definitely staying in my collection. I guess now I’ll try and find an original viewfinder for it so I can walk around without a tripod and take some snaps just like they did in 1906. Thanks for visiting!