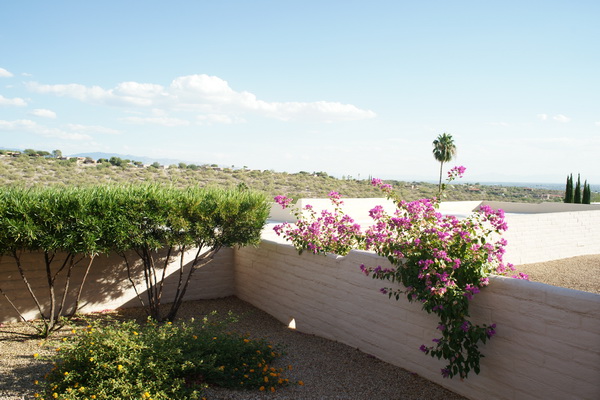
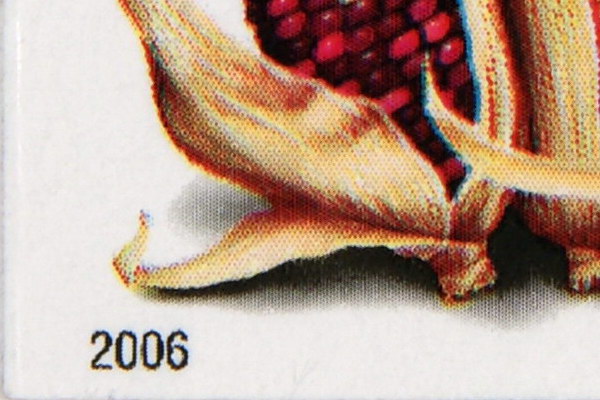
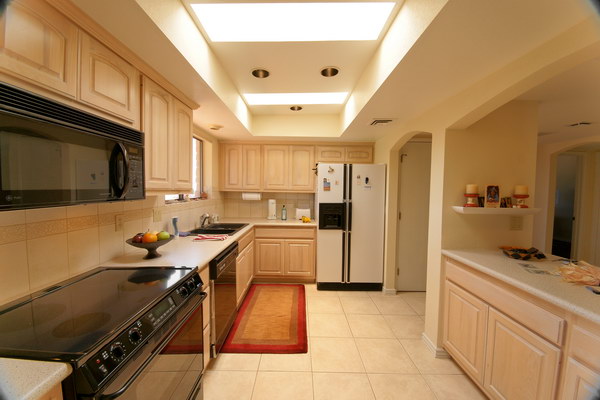
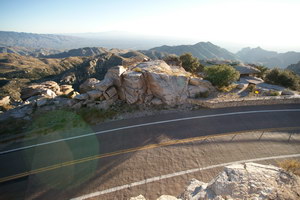
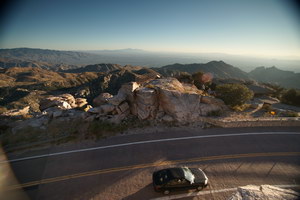
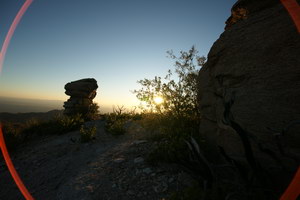
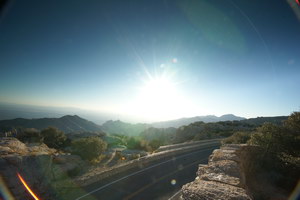
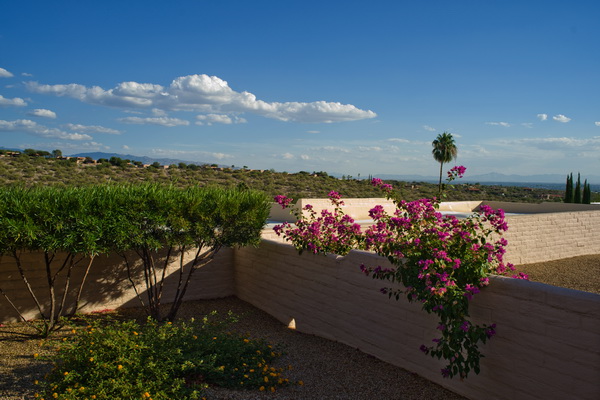
I’ve added a few samples of creative style images above. The “standard” mode is a little boring, but +3 adds quite a bit of zing. Vivd looks good to me, and I most often find myself using it for landscape shots. It’s more saturated than the A700 vivid setting. Vivid +3 is over the top, and blows some detail, so I would stay away from that setting.
Below are detail comparisons between the cameras.
This represents the real difference in detail with an additional 12mp and larger sensor. I’ve upsized the A700 to match the A900 and cropped a portion of both. Printed as you see it here would show the entire image as over 5′ wide, (1.52m).
The images above represent the real difference in detail when you adjust the distance so the crops come out the same. In other words, you have to back off the A700 a factor of 1.0736 to get the same crop area. If the A900 is 100′ (30.48m) from the subject, you would have to move the A700, or other APS-C camera back 7.36′ (2.24M) to get the same crops. Most people think you use the standard 1.5x factor, but you can’t when you have the additional megapixels. All camera settings are identical for both, including exposure.
Now we have actual, same distance crops for you, meaning both images were taken from the same spot, where the A700 has a 1.5x crop factor advantage. The same lens was used for both cameras, and all settings and exposures were the same. I see more detail in the A700, but not as much as I would have guessed.
The same images here, but I adjusted the A900 size to match the A700. I see a difference, but not very much. I thought I’d have to haul out the APS-C camera to take the best telephoto shots, but it looks like I can leave it at home.
Macro crops next.
 |
| A900 F/11 |
 |
| A700 F/11 |
Above are macro images from the A900 and A700. As you can see, there isn’t a whole lot of difference between the two. I used the KM 28-75mm F/2.8 for the shots, though I haven’t tested this lens yet
Next, some APS-C on-off mode examples.
 |
| Sigma 10-20mm @ 10mm |
 |
| Sigma 10-20mm @10mm with APS-C crop on. |
 |
| Sigma 10-20mm @ 10mm APS-C crop off and cropped manually from top shot. |
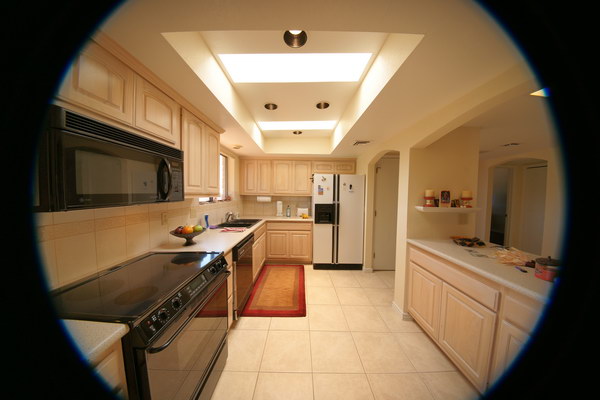
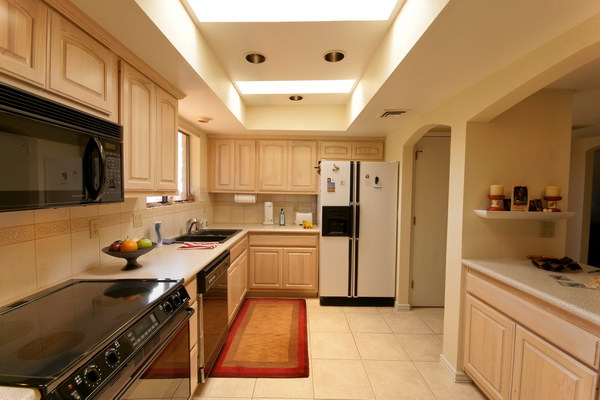
Here’s a good way to pack extra stuff in your image when using a super wide angle APS-C lens. If you use an aftermarket lens like the Sigma 10-20mm F/4-5.6, the camera won’t read the “DT” code to automatically crop the image, so it thinks you’re using a regular full frame lens, and you naturally wind up with heavy vignetting. If you set the camera to APS-C “on” you’ll notice the camera crops off a little more than necessary, but if you leave it off, you can do your own careful cropping, and you’ll end up with about 14mm equivalent, instead of 15mm, it makes a noticeable difference. There is still some vignetting in the bottom photo, but that small amount would be hidden behind the picture frame. The last shot (full resolution) is 4545×3030, or 13.7mp. The middle image is the automatic crop of 3984×2656 or 10.6mp, Sony calls it 11mp on the camera. The top shot is the full 6048×4032.
Check out the nasty issues with the KM 17-35mm F/2.8-4.
 |
| No filter, 17mm |
|
 |
| Tiffen 77CGND6 filter used, 17mm. |
|
 |
| You just never know what you’ll get. 17mm. |
|
 |
| Tiffen filter and F/22, bad choice. 17mm. |
|
Above are the results (resized full images) of using the KM 17-35mm F/2.8-4 lens when the sun is near, or in the image. All pictures here were taken at the widest 17mm setting, but there were similar issues all the way to 35mm. In certain situations when the sun is near the image but not in the frame, you can block it with your hand, the included hood doesn’t help much at all. In the top left shot I probably could’ve used my hand to block the big green blobs. With an APS-C sensor, most problems here don’t fall within the sensor area, that’s one good reason to stick to those cameras.
Check out the RAW conversion samples below.
Our boring (but very convenient) scene shows some blown highlights, and we’ll see if we can try and bring back the details using Sony’s Image data converter SR vr 3, and Adobe’s Lightroom vr 2.1 with ACR 4.6.
|
Original image
|
Amateur adjusted JPEG, or one click photo fix
|
|
|
|
The left shot shows the cropped original image. On the right is what you’d get if the average person tried to recover from a bad JPEG shot using quick fix buttons. If you use exposure compensation, you shouldn’t be getting shots like this, and wouldn’t have to worry about getting yourself out of a mess. Or, if you have plenty of time and memory, you can shoot RAW, and adjust as necessary. See below.
|
Sony IDC RAW -2ev
|
Adobe Lightroom RAW -2ev
|
|
|
|
The two shots above were adjusted by simple dialing in -2.0ev, that’s it, no other adjustment or enhancements. Two things I notice right off are Sony’s use of sharpening in IDC, where as ACR is soft, and the very obvious blown color from IDC. The top arrow points out the difference in cloud tones, the next lower arrow shows the color from the side of the house is gone with IDC, the arrow by the leaf shows another area of highlight blowout, and the last arrow shows a line of harsh color transition between shadow areas because of color clips.
|
Adobe Lightroom RAW -3ev
|
Adobe Lightroom RAW -2ev
|
|
|
|
I’ve used -3.0ev on the left crop, and the same -2.0ev ACR image on the right, IDC only goes to -2.0ev. You can eke out a little more detail by going to -3.0ev using ACR, though I think about 2-2.5 stops is about the limit, especially when you consider you have to make the image come back to life, the rest of the picture is obviously too dark here. See the loss of color information in some of the tan blocks, (inset) which are rendered as blotchy pink with a tiny bit of white mixed in. You could go ahead and repair that small amount of damage, but you also have to try and give the image some dimension, it’s really flat as it stands now. We don’t have to worry about this problem with IDC, because there is no color to work with. In this example, we’re really pushing it, a properly exposed shot would be much easier to save.
|
Sony IDC final
|
Adobe Lightroom ACR final
|
|
|
|
Cropped finals above, the whole image below.
 |
| Original full image |
 |
| Adjusted full RAW image, Lightroom ACR |
Here is the final quick fixed RAW image as compared to the original up top. The whole process took less than one minute. You could do even better if you spent some time going over the image carefully. This is an extreme example with loads of overexposed areas. In real life, you would adjust the exposure to match conditions. In a case like this I would definitely use RAW.
Use exposure compensation for better results.
|
Sony RAW IDC final
|
JPEG using -1.0ev, adjusted
|
|
|
|
Here I shot a JPEG fine using -1.0ev, then applied basic levels adjustments to make it match the IDC RAW image on the left. I probably could’ve used -2/3ev like I do many times, and it wouldn’t be noticeable. The clouds are slightly different in the right image because I shot this picture a few seconds later than the RAW image used beside it. I think it should be clear that you would be better off shooting JPEG if you only have Sony Image data converter SR vr 3. It’s really more important to get the correct exposure than to try and clean up a poorly exposed image later. In severe cases where you think you need the extra range, by all means use RAW, just make sure you process it with something better than Sony’s IDC program. IDC is terrible and shouldn’t be used in my opinion. In some conditions you may be able to retrieve about one stop of highlight information, depending on how over-exposed it is. In the case here, it brings back some detail, but loses too much color. The color is gone even when you initially process the image without adjusting the exposure. Note: I used no color enhancements on any images for these comparisons.
In a nut-shell. You probably don’t need to shoot in RAW mode for normal conditions, just use appropriate exposure compensation when needed. If you only have IDC, don’t worry about RAW, you might end up with a better picture using JPEG.
This concludes the review. I may add some other stuff later, but I’ll be sure and post it on the homepage so you won’t miss anything. Thanks for visiting. If I’ve helped you, please help me and make a small donation using the links on the homepage or contact page. Thanks.
|


