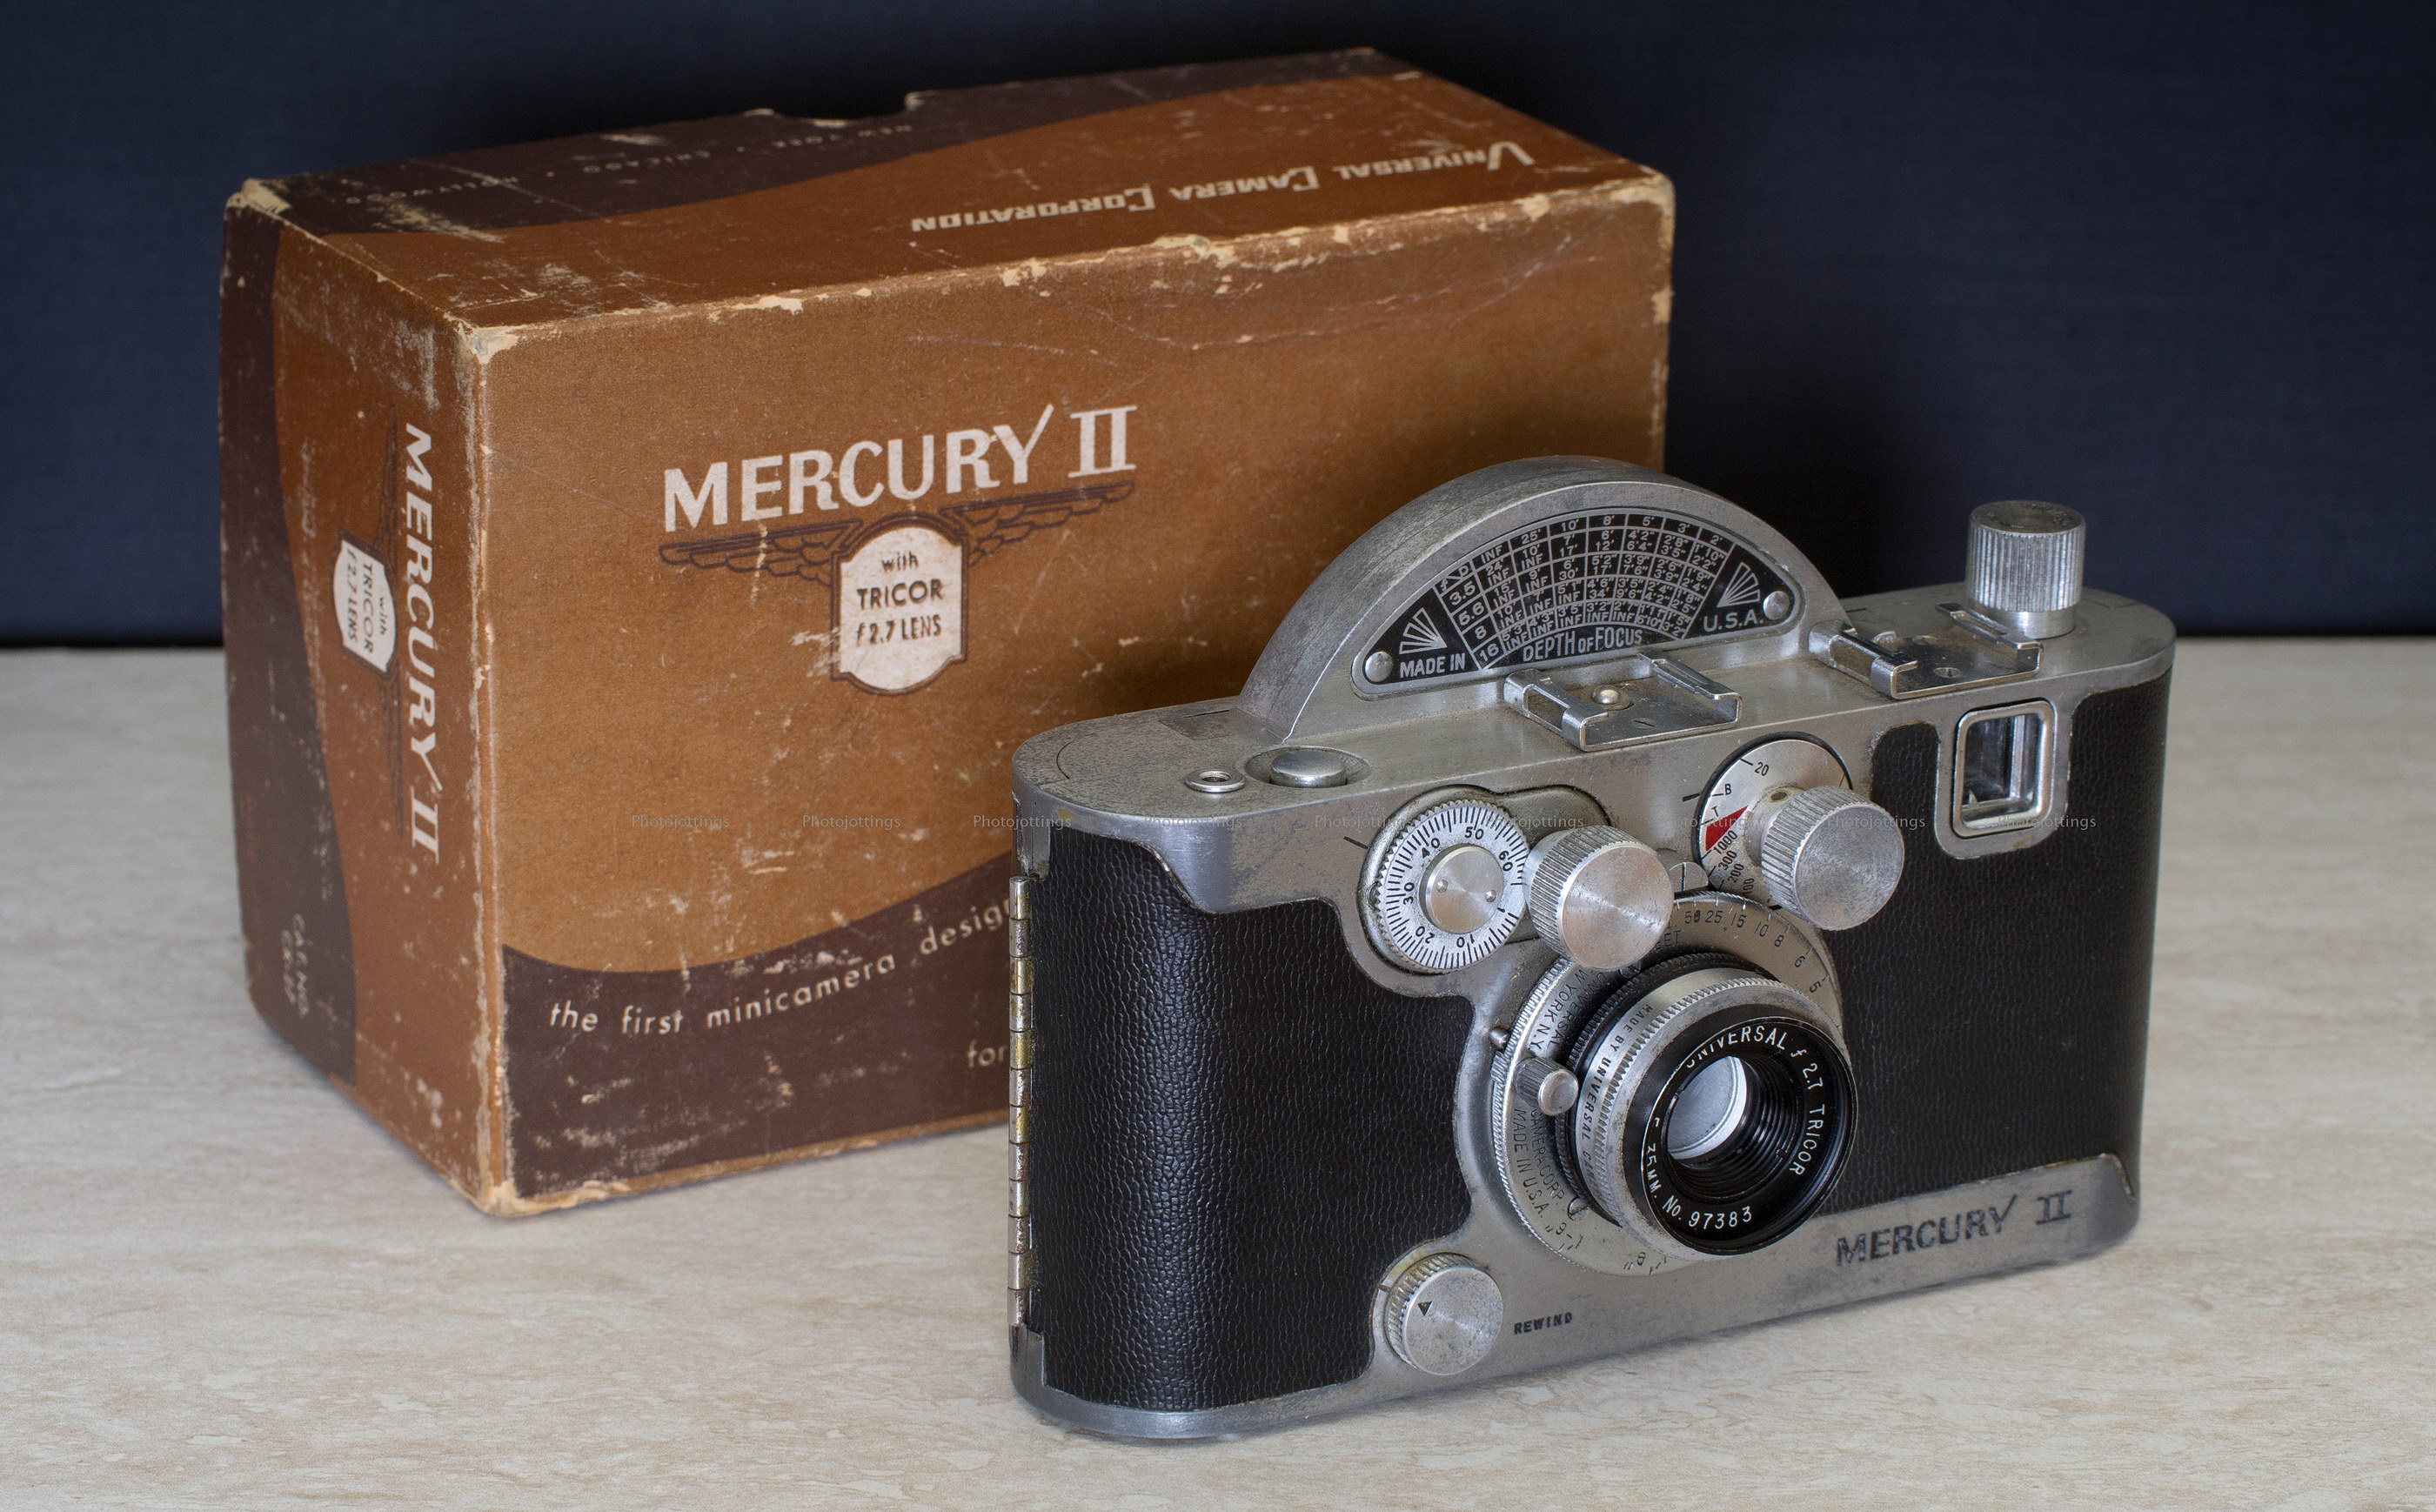
This weeks review camera is a neat little garage sale find costing a mere $5 back when my dad picked it up in the late 1980s! The camera is a Mercury II made by the Universal Camera Corporation. It’s an odd, but not unattractive looking mechanical contraption that was sold back in the late 1940s to very early 1950s. The ads for this camera hyped the unique rotary shutter with a claimed 1/1000 shutter speed, and the fact that it captured ‘half frame’ pictures for additional economy.
The Mercury II uses standard 35mm film cartridges, but captures the image in a half frame (18mm x 24mm) vertical orientation which results in 65 pictures from a roll of 36. Not a big deal, but the aspect ratio is 4:3, or old standard TV; not 3:2 as are full 35mm pictures. When actually measuring the images and film gate, the capture area is closer to 19x25mm.
For a more thorough examination of the Mercury camera, the Universal Camera Corporation, and better pictures, go to Mike Eckmans site.
The shutter speeds on my copy are not exactly spot-on, but are surprisingly accurate considering the camera has been sitting in the garage for the last 30 years, and most likely never cleaned in its life. The 1/1000 setting averages 1/550, which is probably closer to normal for these cameras based on other mechanical shutters I’ve tested. Other speeds are: 1/300 is 1/250, and 1/200 is 1/140. The slower settings are close to the indicated speed.
Color film was becoming a big deal back in the late 1940s, so Universal marketed the Mercury II as the first ‘minicamera’ designed especially for taking color photos on economical 35mm film.
With the introduction out of the way, let’s check out some specifications, and then head back to 1951 and take some pictures!
Name; Mercury II (model CX), cat. no. CX 27, purchased from, or owned by Compass Instrument and Optical Company, New York.
Box contents; camera, owner’s manual, Jiffy mask samples, and some information cards, see picture below.
Manufactured by; Universal Camera Corporation, (aka Univex) of New York City, NY; and Chicago and Hollywood.
Made in: NY, USA.
Date of manufacture; 1945-1951? our review model probably 1951.
Price; a 1951 magazine ad for a Mercury II with 35mm Tricor F/2.7 lens; $53.89, and claimed retail price of $82.90, so maybe it was a trade magazine. Current ebay prices are around $25-$100+ for a working copy.
Guarantee; early models for one year. In the 1951 owner’s manual, only 120 days; the company collapsed and went bust in 1952.
Build material; aluminum and magnesium.
Weight; 20.2oz (574g).
Dimensions; Size is 5.5″ (141mm) wide, 3.7″ (93mm) high, and 2.1″ (53mm) deep, including lens.
Focal length; 35mm; covers around 50mm in 135 format.
Aperture; F/2.7-22.
Focusing; manual, indexed in feet, 1′-6″ (0.5m) to infinity.
Original print size; standard prints 3¼” x 4¼.″
Approximate resolution; will make good 5″x 7″ size prints.
Lens; Universal Tricor 35mm F/2.7 coated three element anastigmat with nine aperture blades.
Shutter and speed; stamped metal, rotary focal plane with speeds marked at; 1/20, 1/30, 1/40, 1/60, 1/100, 1/200, 1/300, 1/1000. Has cable release socket next to the shutter button.
Distortion; did not check.
Color fringing; none noticeable.
Double exposure prevention; yes.
Features; ‘half frame’ economy; get 65 pictures on a roll of 36. Hot and cold shoe. Also, the highly advertised 1/1000 shutter speed.
Film; all 135 film cartridges, B&H, Amazon, eBay.
Flash. not built-in, but has synced hot shoe.
Power; hand winding.
Viewfinder; vertically oriented like a 6×4.5 camera. Tiny, dark and awful uncoated glass viewfinder with parallax correction marks.
Accessories for this model; K-23 leather case, choice of lenses, rangefinder, sunshade, M-29 flash, M-30 extinction meter, and yellow, green, and red filters for B&W film, and a polarizing filter. Owners manual suggests there are ‘telephoto’ lenses available from the manufacturer.
Crippling features and omissions; viewfinder is too small and dark, you have to put your eye against the camera to see the whole view; eyeglass wearers are screwed.
Good features; simple mechanical camera with robust rotary shutter, so with a little luck you can start shooting decent pictures even from an old beat-up copy.
Go here for an owner’s manual, and be sure and tip the site owner for this thoughtful service.
Product shots with descriptions. Click for larger images.

A complete boxed Mercury II. The MercuryJiffy masks are for making slides from your transparency film, and will fit in a standard 35mm tray for projection. The tissue paper folded up underneath the camera was probably used for wrapping and protecting the camera. Click image to read the small print.

There are a lot of dials and knobs on the front of the camera, fortunately, it’s not as complicated as it looks.
First off, from the top left is the shot counter; you manually set it to the number of exposures of the roll; so for a roll of 36 you would set it to 65, and then start taking pictures. Be careful when handling the camera as the shot counter dial is not locked, and moves in either direction at any time.
Directly beside the shot counter is the shutter cocking knob. Turn the knob clock-wise as you face the camera until it stops, then it’s ready to shoot. To the right of the cocking knob is the shutter speed dial. You press in and turn it to the required speed. When you press the shutter button, this dial and knob spins briefly.
The viewfinder window is at the top right. It’s pretty small and dark, but there’s nothing you can do about it other than to make sure it’s clean. In this picture you can just make out the parallax pointer marks at the bottom left of the window.
The small round knob at the bottom is for unlocking the winder mechanism so you can safely rewind the film. It also locks the shutter button so you don’t accidentally trip the shutter while rewinding.

A close-up of the lens shows us the aperture settings indexed around the silver part of the barrel. The reference index is at the same place as F/2.7 is here in the picture.
The black knurled ring near the focus scale is for unscrewing the lens, (clockwise).
The chrome focus scale is against the camera body; it turns either by gripping the outside knurled edge or by a small knob just visible on the other side of the lens. The focus index reference is the semi-circular protrusion (with a vertical line) between the top two knobs.

The bottom of the camera features an off-center ¼-20 tripod socket. The button to the right opens the back cover. The three little external protrusions are feet, and the others are pins for holding things inside.

A look at the back of the camera. The smaller dial (called a ‘filminder’ by Mercury) on the left reminds you of what type of film is loaded; fast, medium or slow, and then the number of exposures, either an 18 or 36 roll. In this picture the dial is set for color film with a roll of 36, which yields 65 half frame exposures.
At the top the semi-circular depth of focus scale starts at F/2 for the Hexar lens, and moves down to the F/2.7 Tricor. The scale picks up on the front of the camera at F/3.5.
The large dial in the center is pretty scary looking; however, if you follow the owner’s manual, it’s really easy to use, and very helpful in a variety of lighting situations.

With the cover opened, the stamped steel film gate and pressure plate can be seen. The take-up spool has a lengthwise strap, and you feed the film leader under it from the opposite side so it won’t slide out when you advance the film.
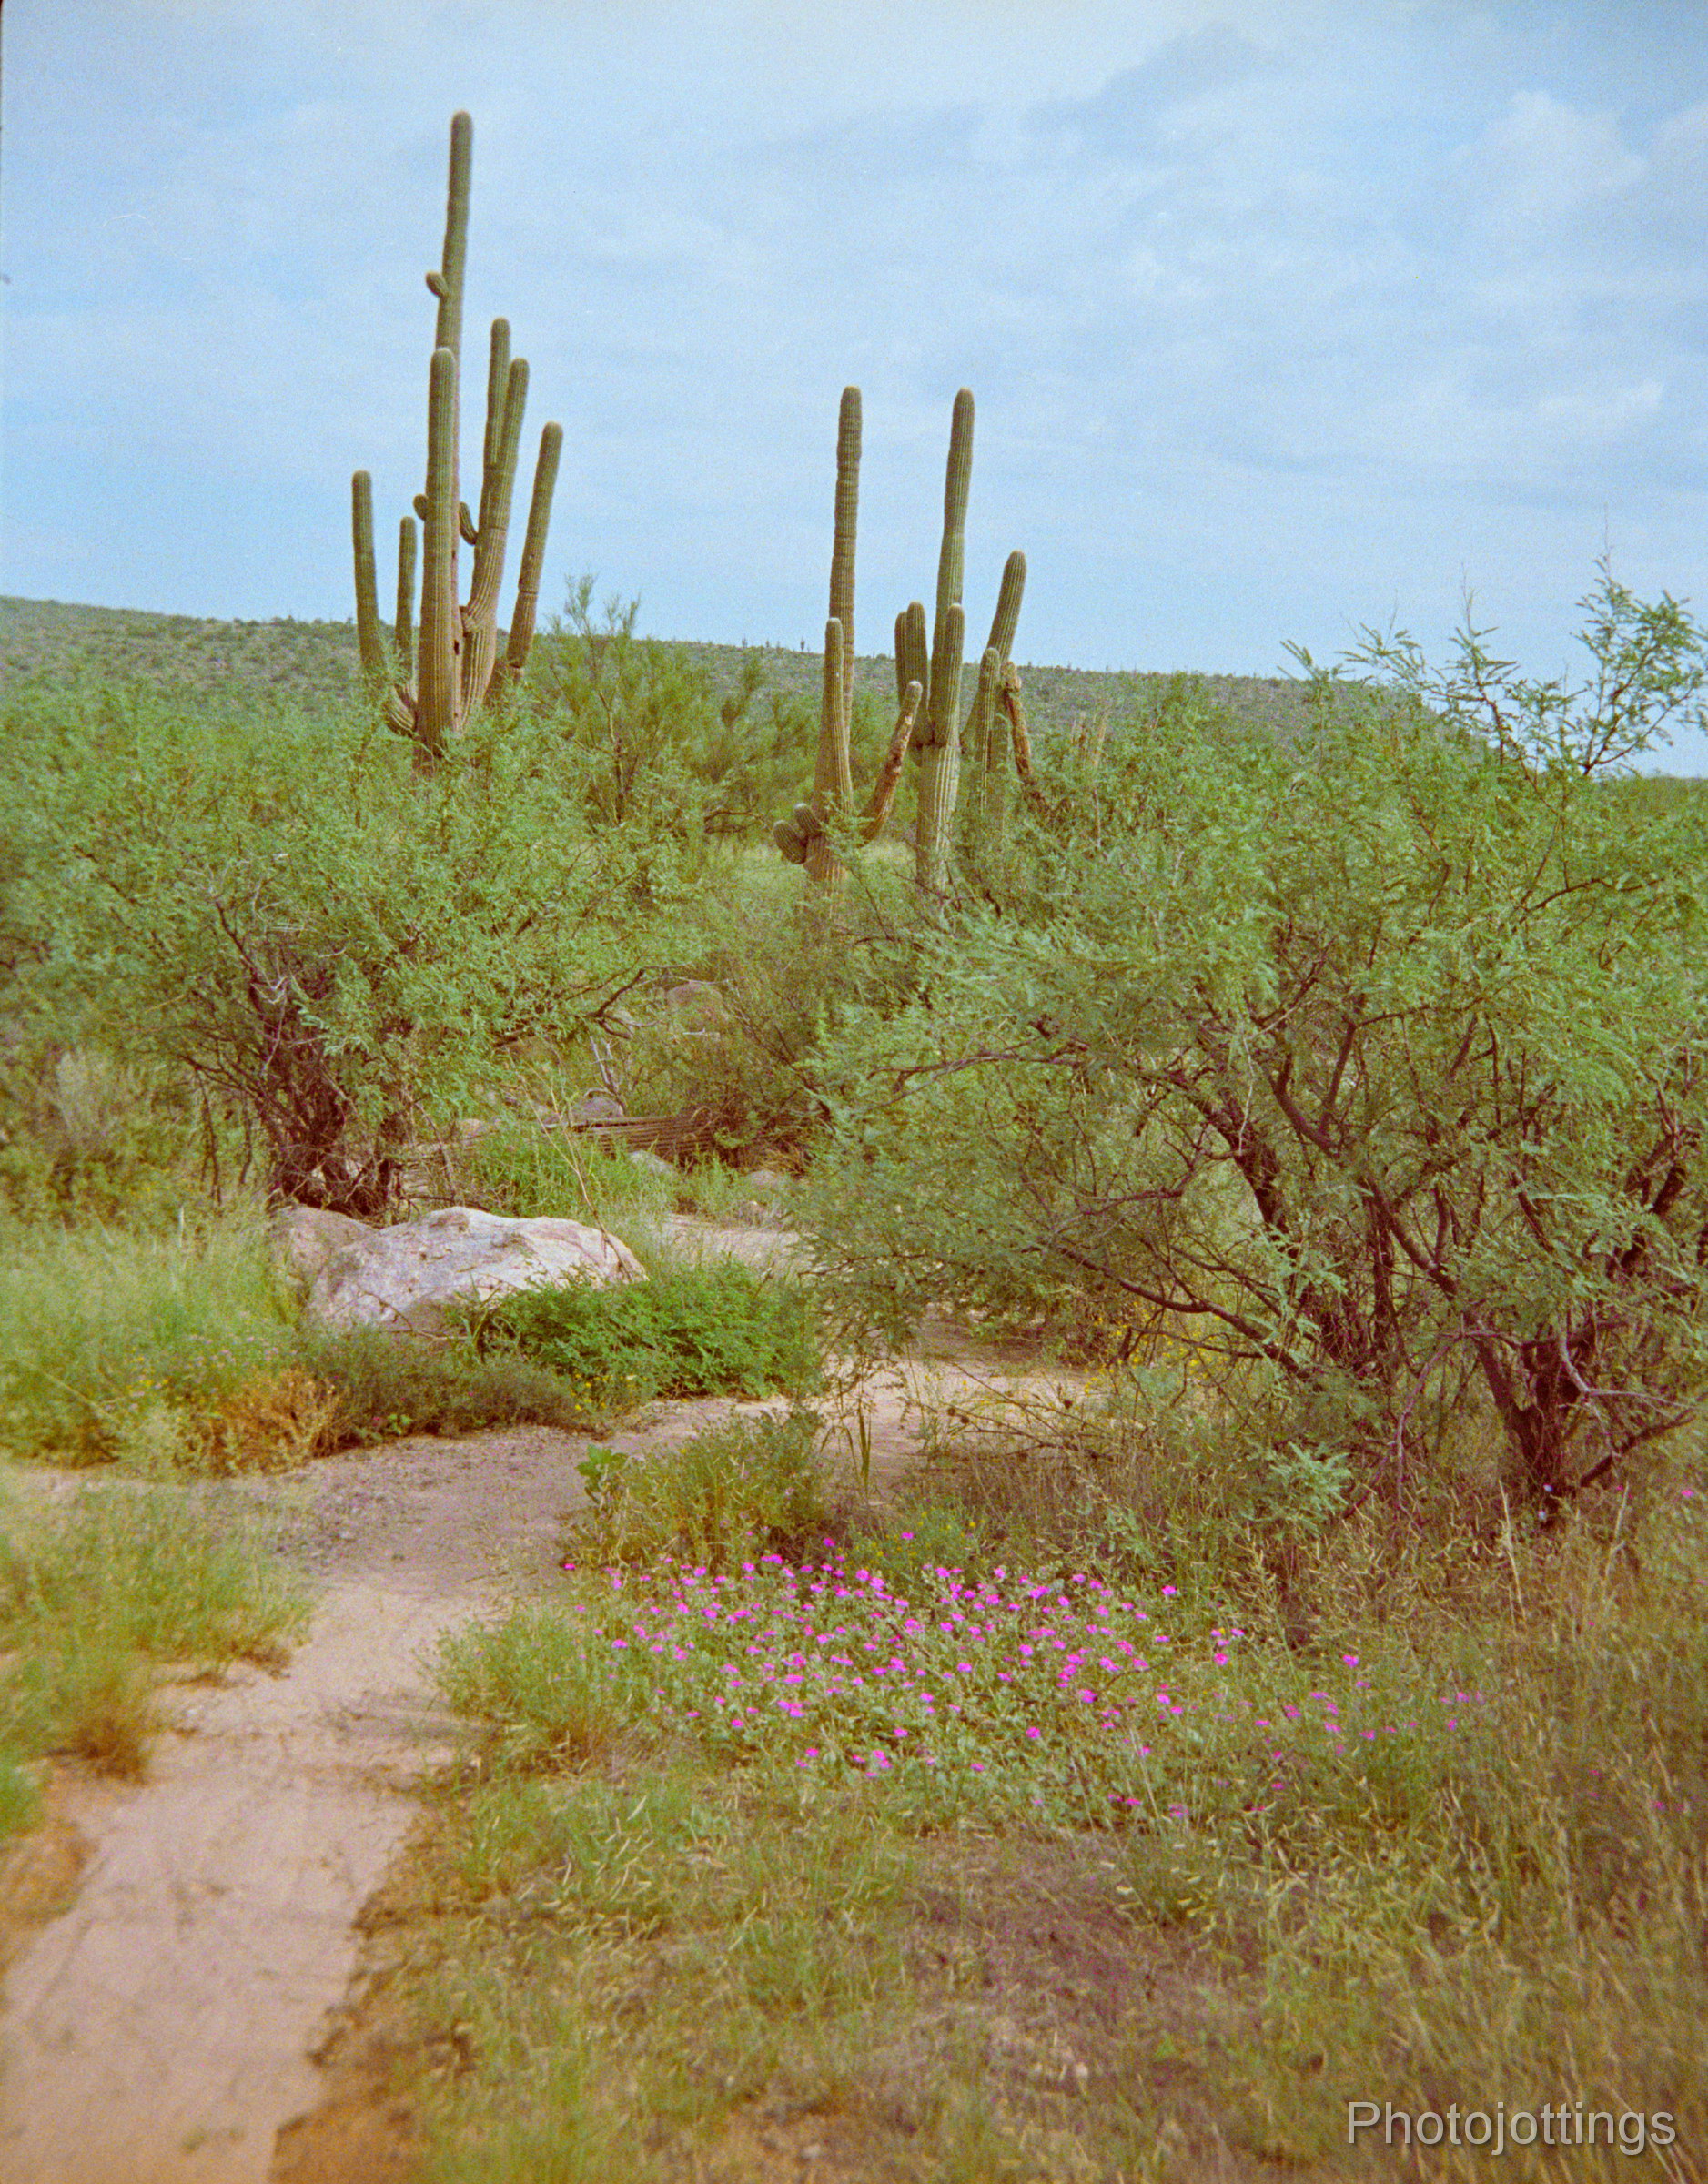
Here are some bad test images scanned on a Nikon Super Coolscan 9000 ED. All are around 2400 pixels on the long end; there is no additional resolution from scanning at a higher sample rate. I used cheap Kodak Max 400 for all the images here; this film is not my favorite because of the poor shadow detail, and it’s hard to get a good scan as opposed to the great Kodak Ektar or Portra films. Click for larger images.

A pleasant spring scene in the Desert Southwest. Near F/8 focused near infinity.

Focused on cactus flowers. Probably stopped down to F/5.6 or so based on the lack of decent background blur.
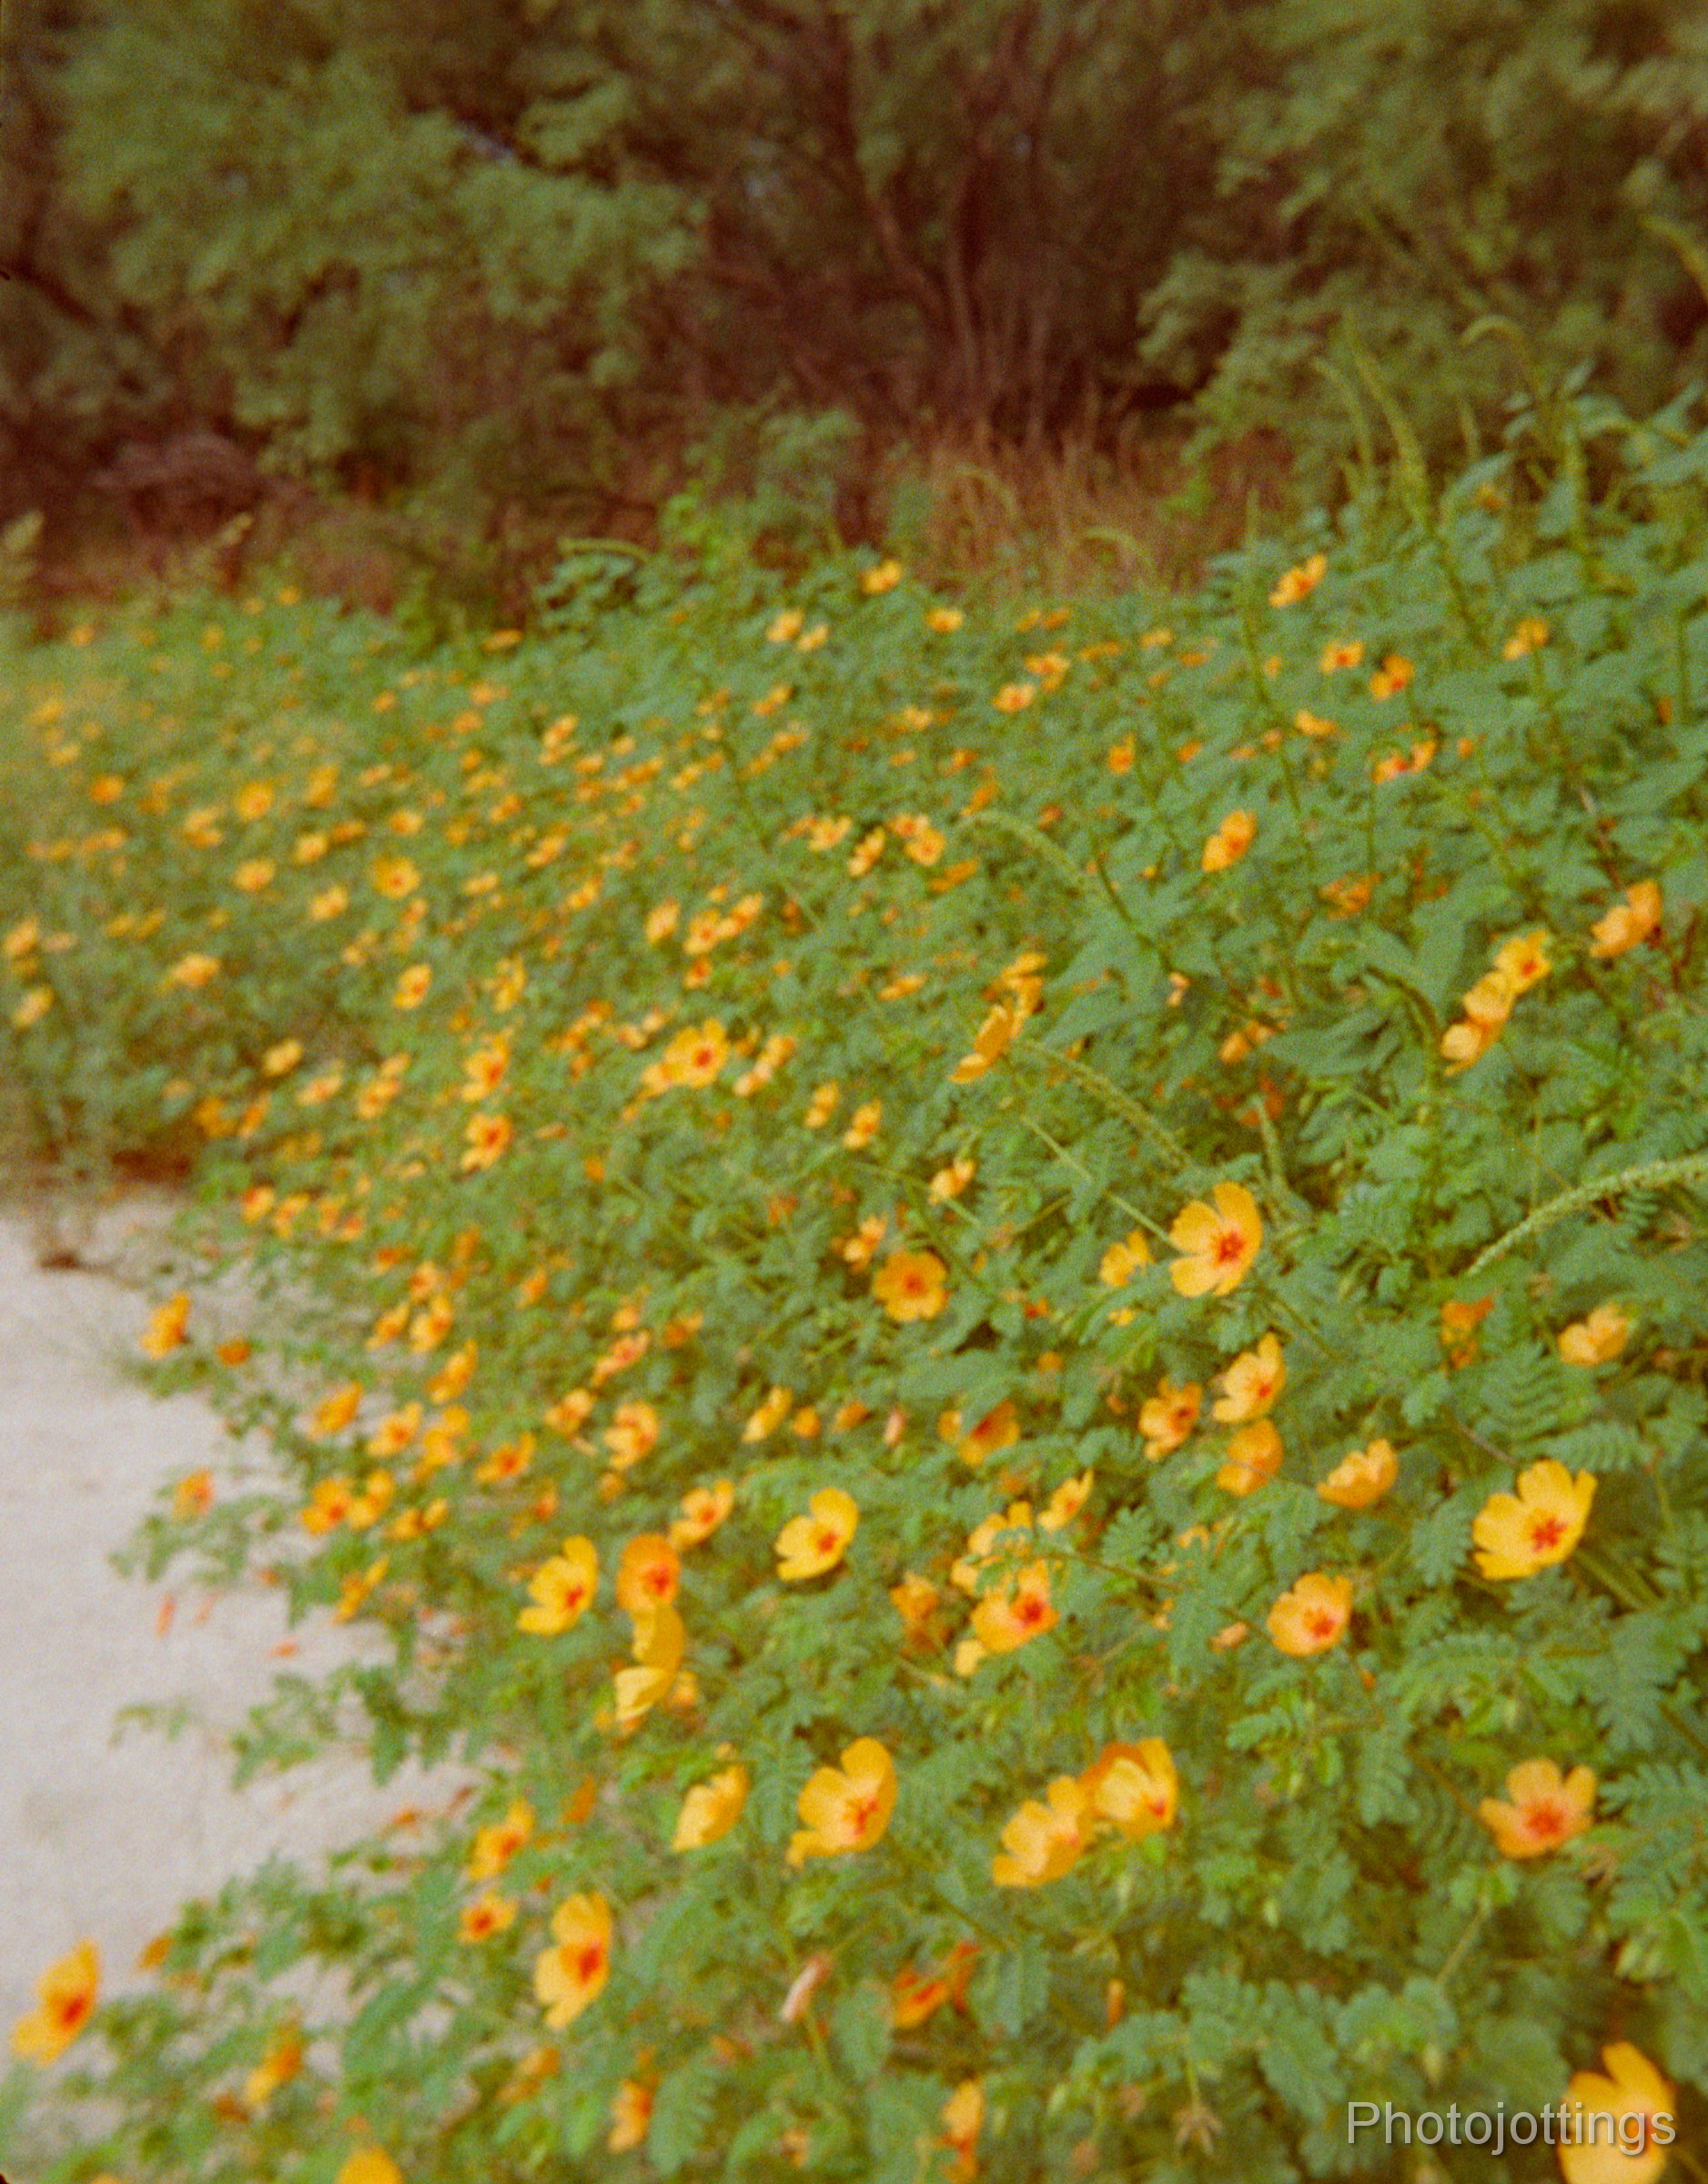
Wide open at F/2.7, focused on the foreground flowers. A cloudy day.
Desert trail flowers. Probably F/8-11.

Trailhead parking at center. F/8-11. Notice blurry right side.

Memory bench, F/8-11 and blurry right side.

Flowers in the wash. F/11.

A tranquil scene at F/8-11.

The frame spacing is not perfect, but adequate, especially when considering the rather crude winding mechanism. The film gate is stamped metal and is slightly off-set on my copy.
Conclusion.
The Universal Mercury II is a neat looking camera, and just begs to be stripped down for a good cleaning and lube, then shined up with new coverings applied. I may do just that, but not right now. I’m a little disappointed in the quality of the lens; it’s not very sharp overall, and pretty soft on the right side. Maybe my copy isn’t quite right, and someone played around with it over the years and screwed something up. I did take apart the lens, but found no issues that really stick out from the normal. I may buy another and see if I can get a little better quality out of the lens, which is important with little half frame negatives.
I ran two rolls through the camera, Kodak 400 Max, and Fuji Velvia slide film, which unfortunately got stuck inside the camera, and actually broke off as I wound it!! I think the problem was the film leader slid along the take-up spool strap, started winding off-center, and the sharp winding teeth stripped the sprocket holes creating a tare, and creeeehhhk, it tore in half. Solving this problem may involve creating a much longer lead for the film, say about 4-5 blank shots and then start with number one.
The Mercury II has a lot going for it, and I’m not going to let this bad experience sour my affection for this cool and unique camera. So I would recommend getting one if you like the look as much as I do, but be sure and take some time to practice with it and hopefully you’ll experience better results than I did, at least on the first outing or two. Go here for a look at how to do a tear-down.
That’s it for this review, thanks for visiting!
Please consider buying your goodies through my links, doing so helps support the site, thanks!