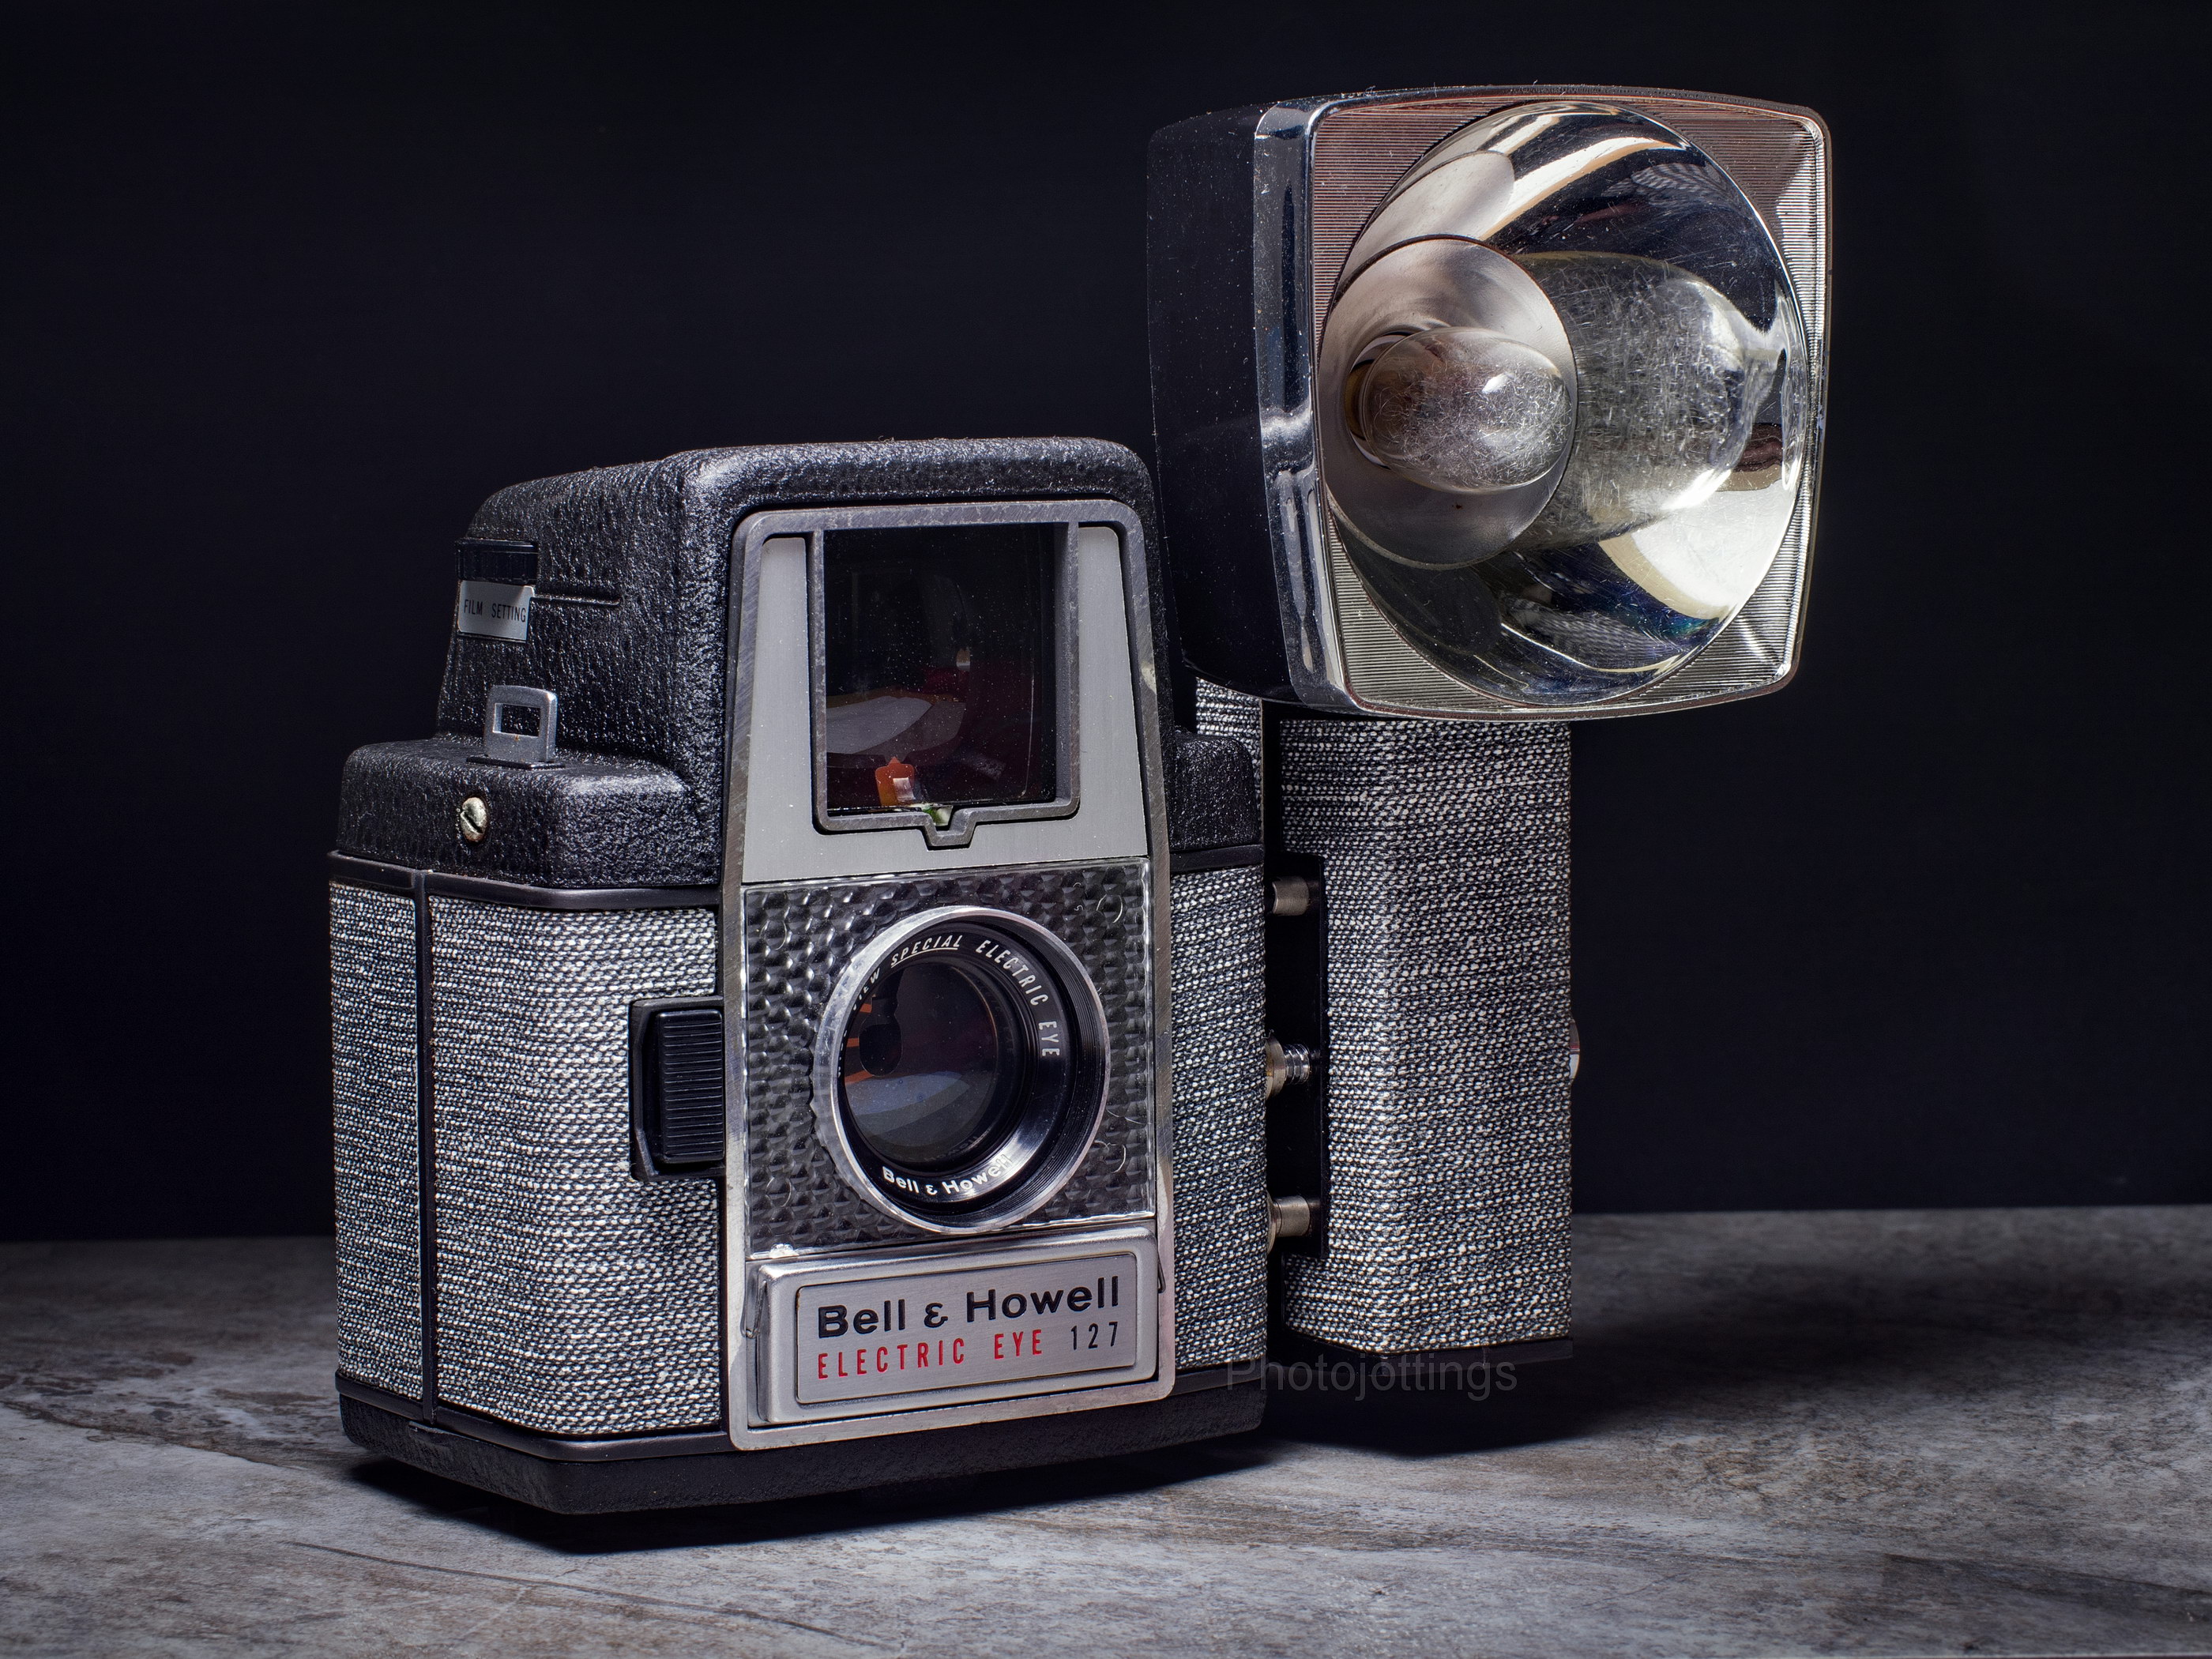
The late 1950s brought us a lot of cool stuff, like flying cars, the integrated circuit, and the microwave oven, but few people remember it also brought us some fabulous cameras such as the Electric Eye from Bell & Howell! This particular model is smartly dressed in tweed; it looks great, that’s why I bought it.
The Bell & Howell Electric Eye 127 camera featured fully automatic exposure control, a wide view ‘special’ lens, (with a curved film gate—uh-oh), and a way to adjust the aperture in case you want to override the automatic system. (note; the lens on this camera has a very unusual characteristic, either you’ll think it’s cool, or you’ll hate it and won’t ever use the camera again.) It also has a fixed focus lens and single shutter speed for simple point and shoot operation. The ‘Electric Eye’ was built from sturdy cast aluminum, and feels nice in the hand, if not a bit heavy when compared to the cheap plastic box cameras from the day like the Brownie Hawkeye; however, it was not a cheap camera, and the ‘outfit’ including the camera, flash and matching tweed case cost a whopping $75 in 1959!
Go to this site for a more thorough history, and a good selection of B&W photos.
The Bell & Howell Electric Eye takes 127 film for 12 4cm x 4cm square images. Get film here, B&H, or Ebay.
Before we check out the test pictures, let’s do a quick inspection of this neat little camera.
Name; Bell & Howell Electric Eye 127
Box contents; the outfit came with the camera, user’s manual, flash and matching case as you see in the picture below.
Manufactured by; Bell & Howell Co, Chicago, Illinois.
Made in: Chicago Illinois, USA.
Date of manufacture; 1958-?
Price; retail around $74.85 for the outfit in 1959. Current ebay prices are around $25-50 for a decent working copy.
Build material; sturdy aluminum body, faux tweed coverings, with a nice fit and finish.
Weight; camera only, 21.6oz (612g).
Dimensions; camera only; 3.75″ (95mm) wide, 4.75″ (120mm) high, and 2.9″ (75mm) deep.
Focal length; around 55mm.
Aperture; F/8-45.
Focusing; fixed at about 8′ (2.5m).
Original print size; Probably 3½ x 3½.″
Approximate resolution; will make good 5″x 7″ prints.
Lens; about 55mm, F/8 coated achromat two element type with curved film gate. Capture area horizontally equal to 38mm in 135 format. Lens extension ring outside diameter is 36.5mm.
Shutter and speed; fixed around 1/50s. I was not able to actually test the speed since the back of the lens is not accessible. No cable release option.
Distortion; unusually wavy and very noticeable in pictures with straight lines; this may be at least partly caused by film flatness issues, and not just the lens.
Color fringing; mild magenta colored lateral type.
Double exposure prevention; yes, but cannot be over-ridden.
Features; user adjustable aperture located behind door under lens.
Film; 127 film, try B&H, or Ebay.
Flash. included in the ‘outfit.’ Uses 504/220A 15 volt battery, which is very expensive, try B&H, Amazon, or Ebay. Uses M2/M5/M25 ‘midget’ base type bulbs, try here. Don’t get the large base M25 ‘press’ bulbs, they won’t fit.
Power; no batteries required for the camera.
Viewfinder; bright and clear, but no framing or parallax marks. Has red pointer that shows up when the exposure levels are too low.
Accessories for this model; B-C flash, and matching case.
Crippling features and omissions; nothing really bad except that it takes mostly obsolete 127 film.
Good features; very simple to operate even if the exposure control doesn’t work, bright viewfinder, excellent exposures, sharp pictures when stopped down.
Go here for an owner’s manual, it’s Mike Eckman’s site.
Product shots with descriptions. Click for larger images.
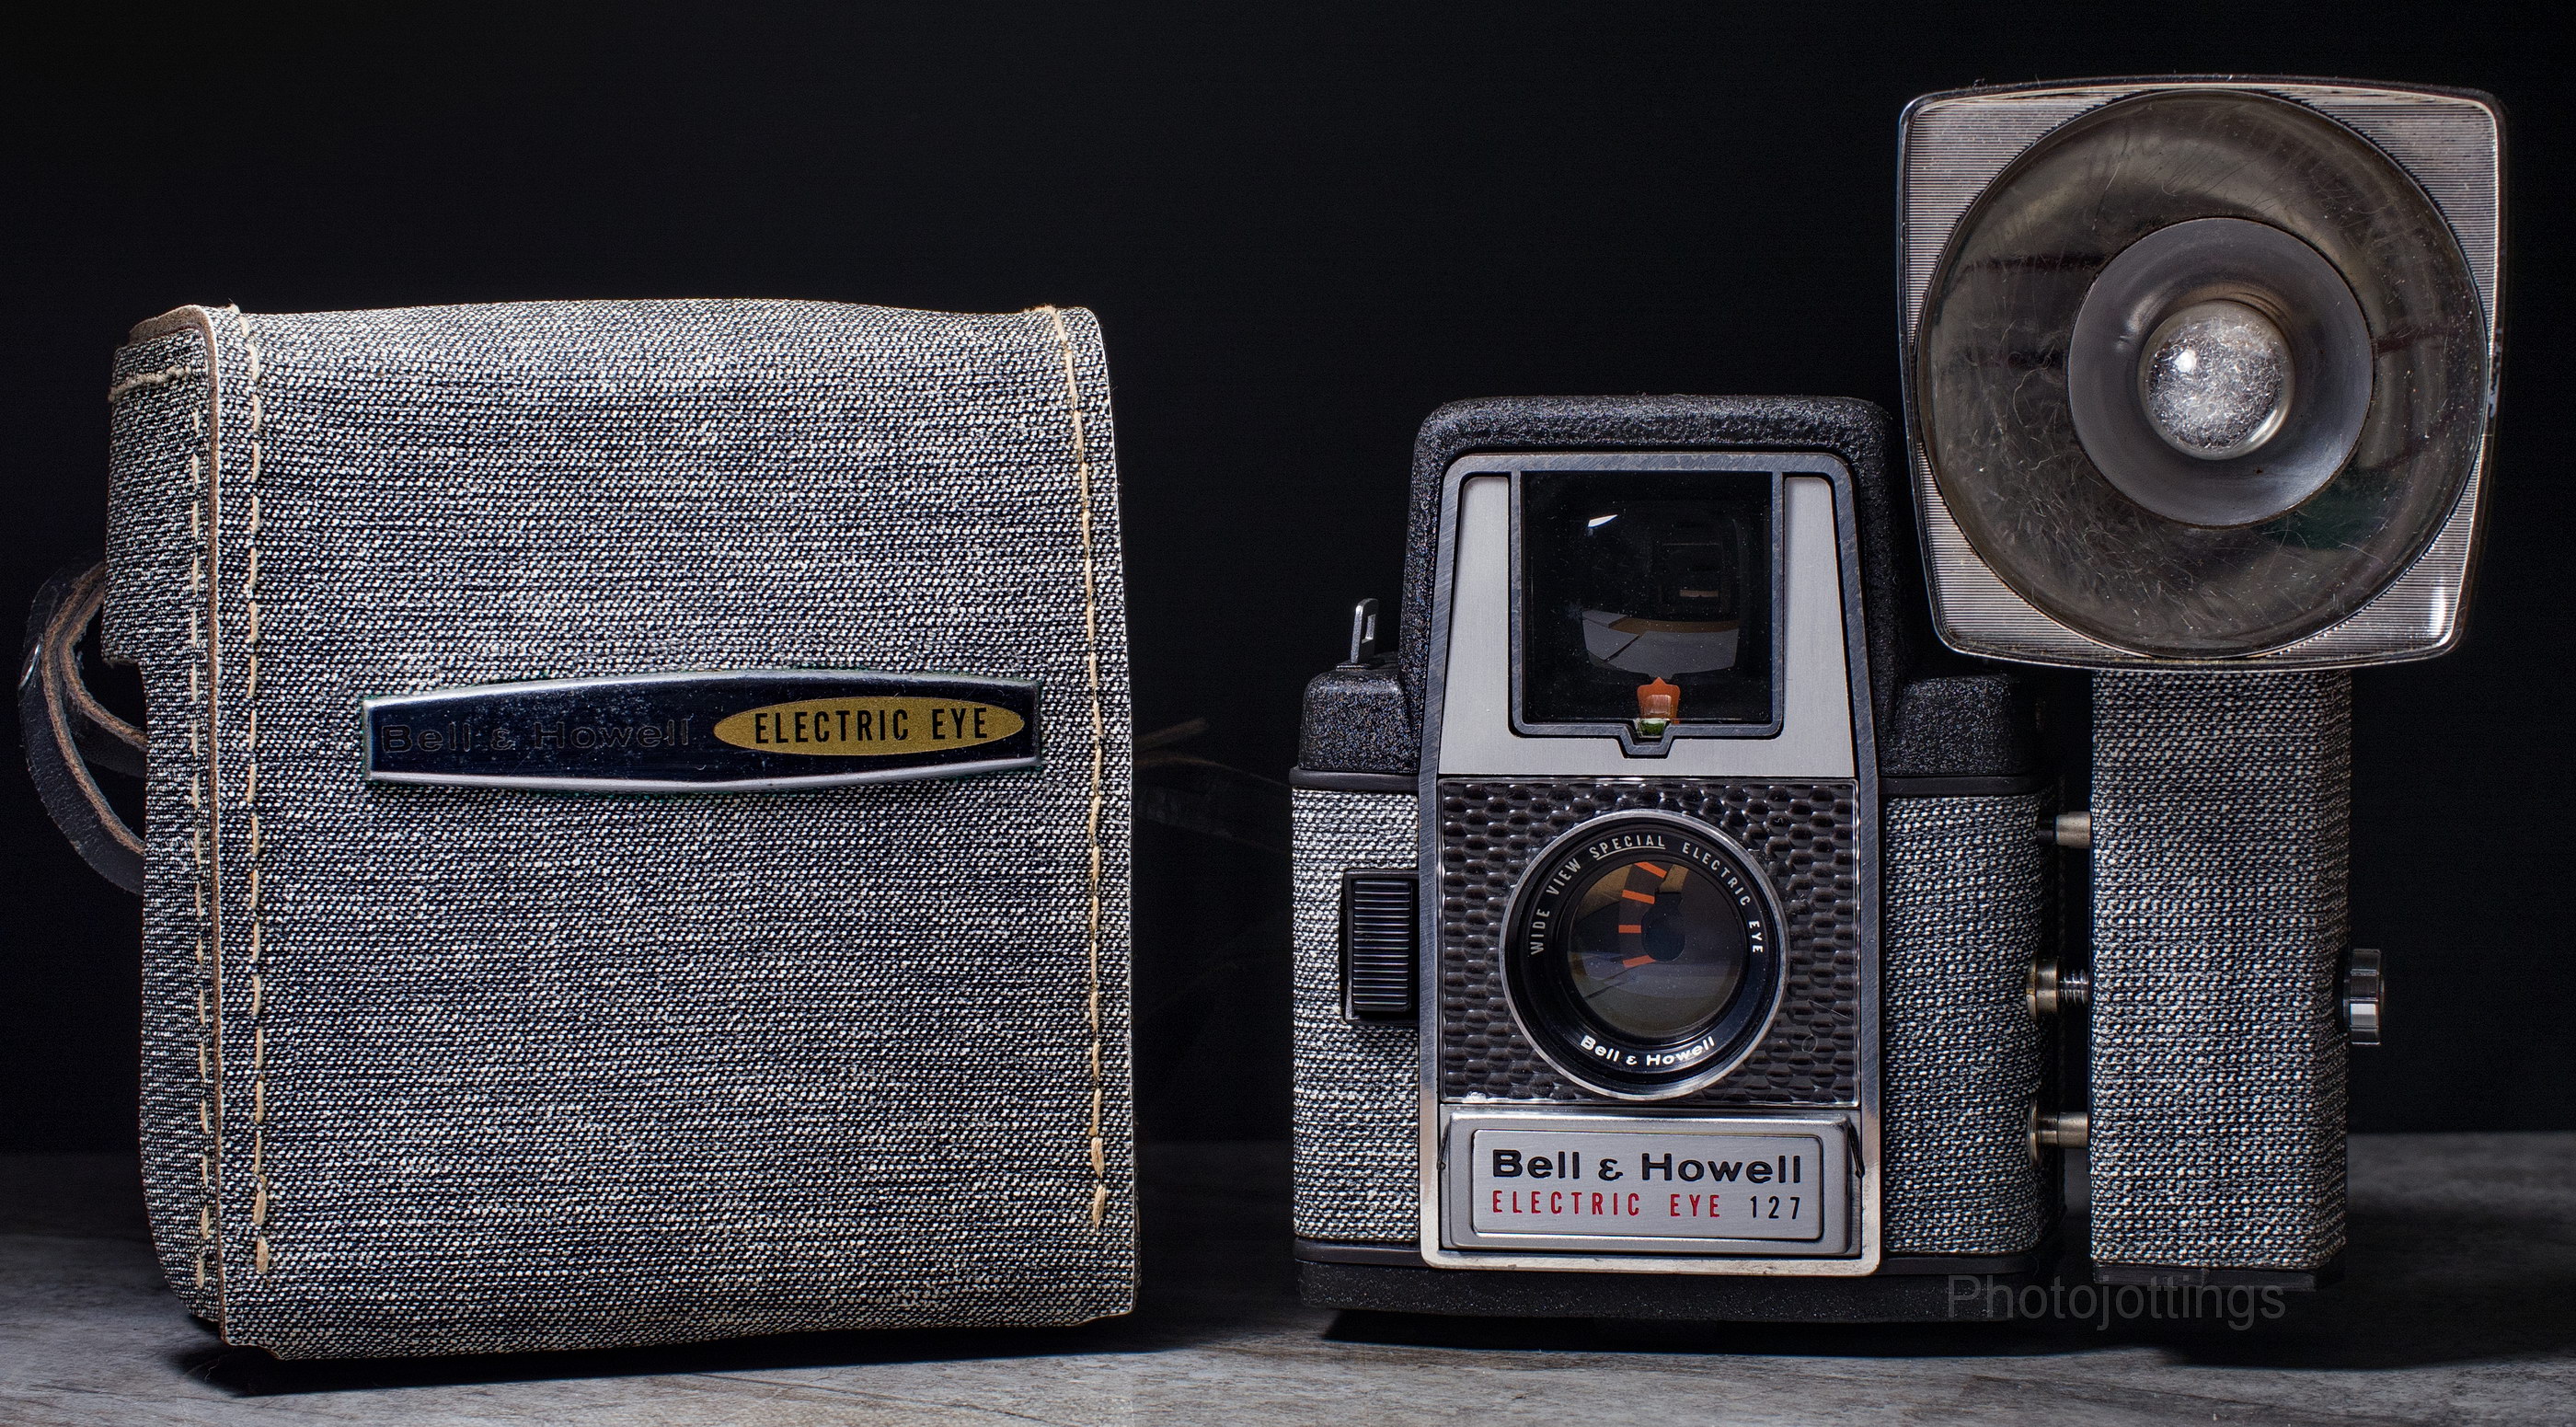
Here’s the ‘outfit’ complete with case and flash unit. The felt lined case looks like flimsy canvas, but it’s actually a type of hardboard. The stylish ‘Electric Eye’ badge on the case is plastic with a chrome finish, and says ‘Bell & Howell in the shadows. The tweed looks like denim in this picture don’t you think?
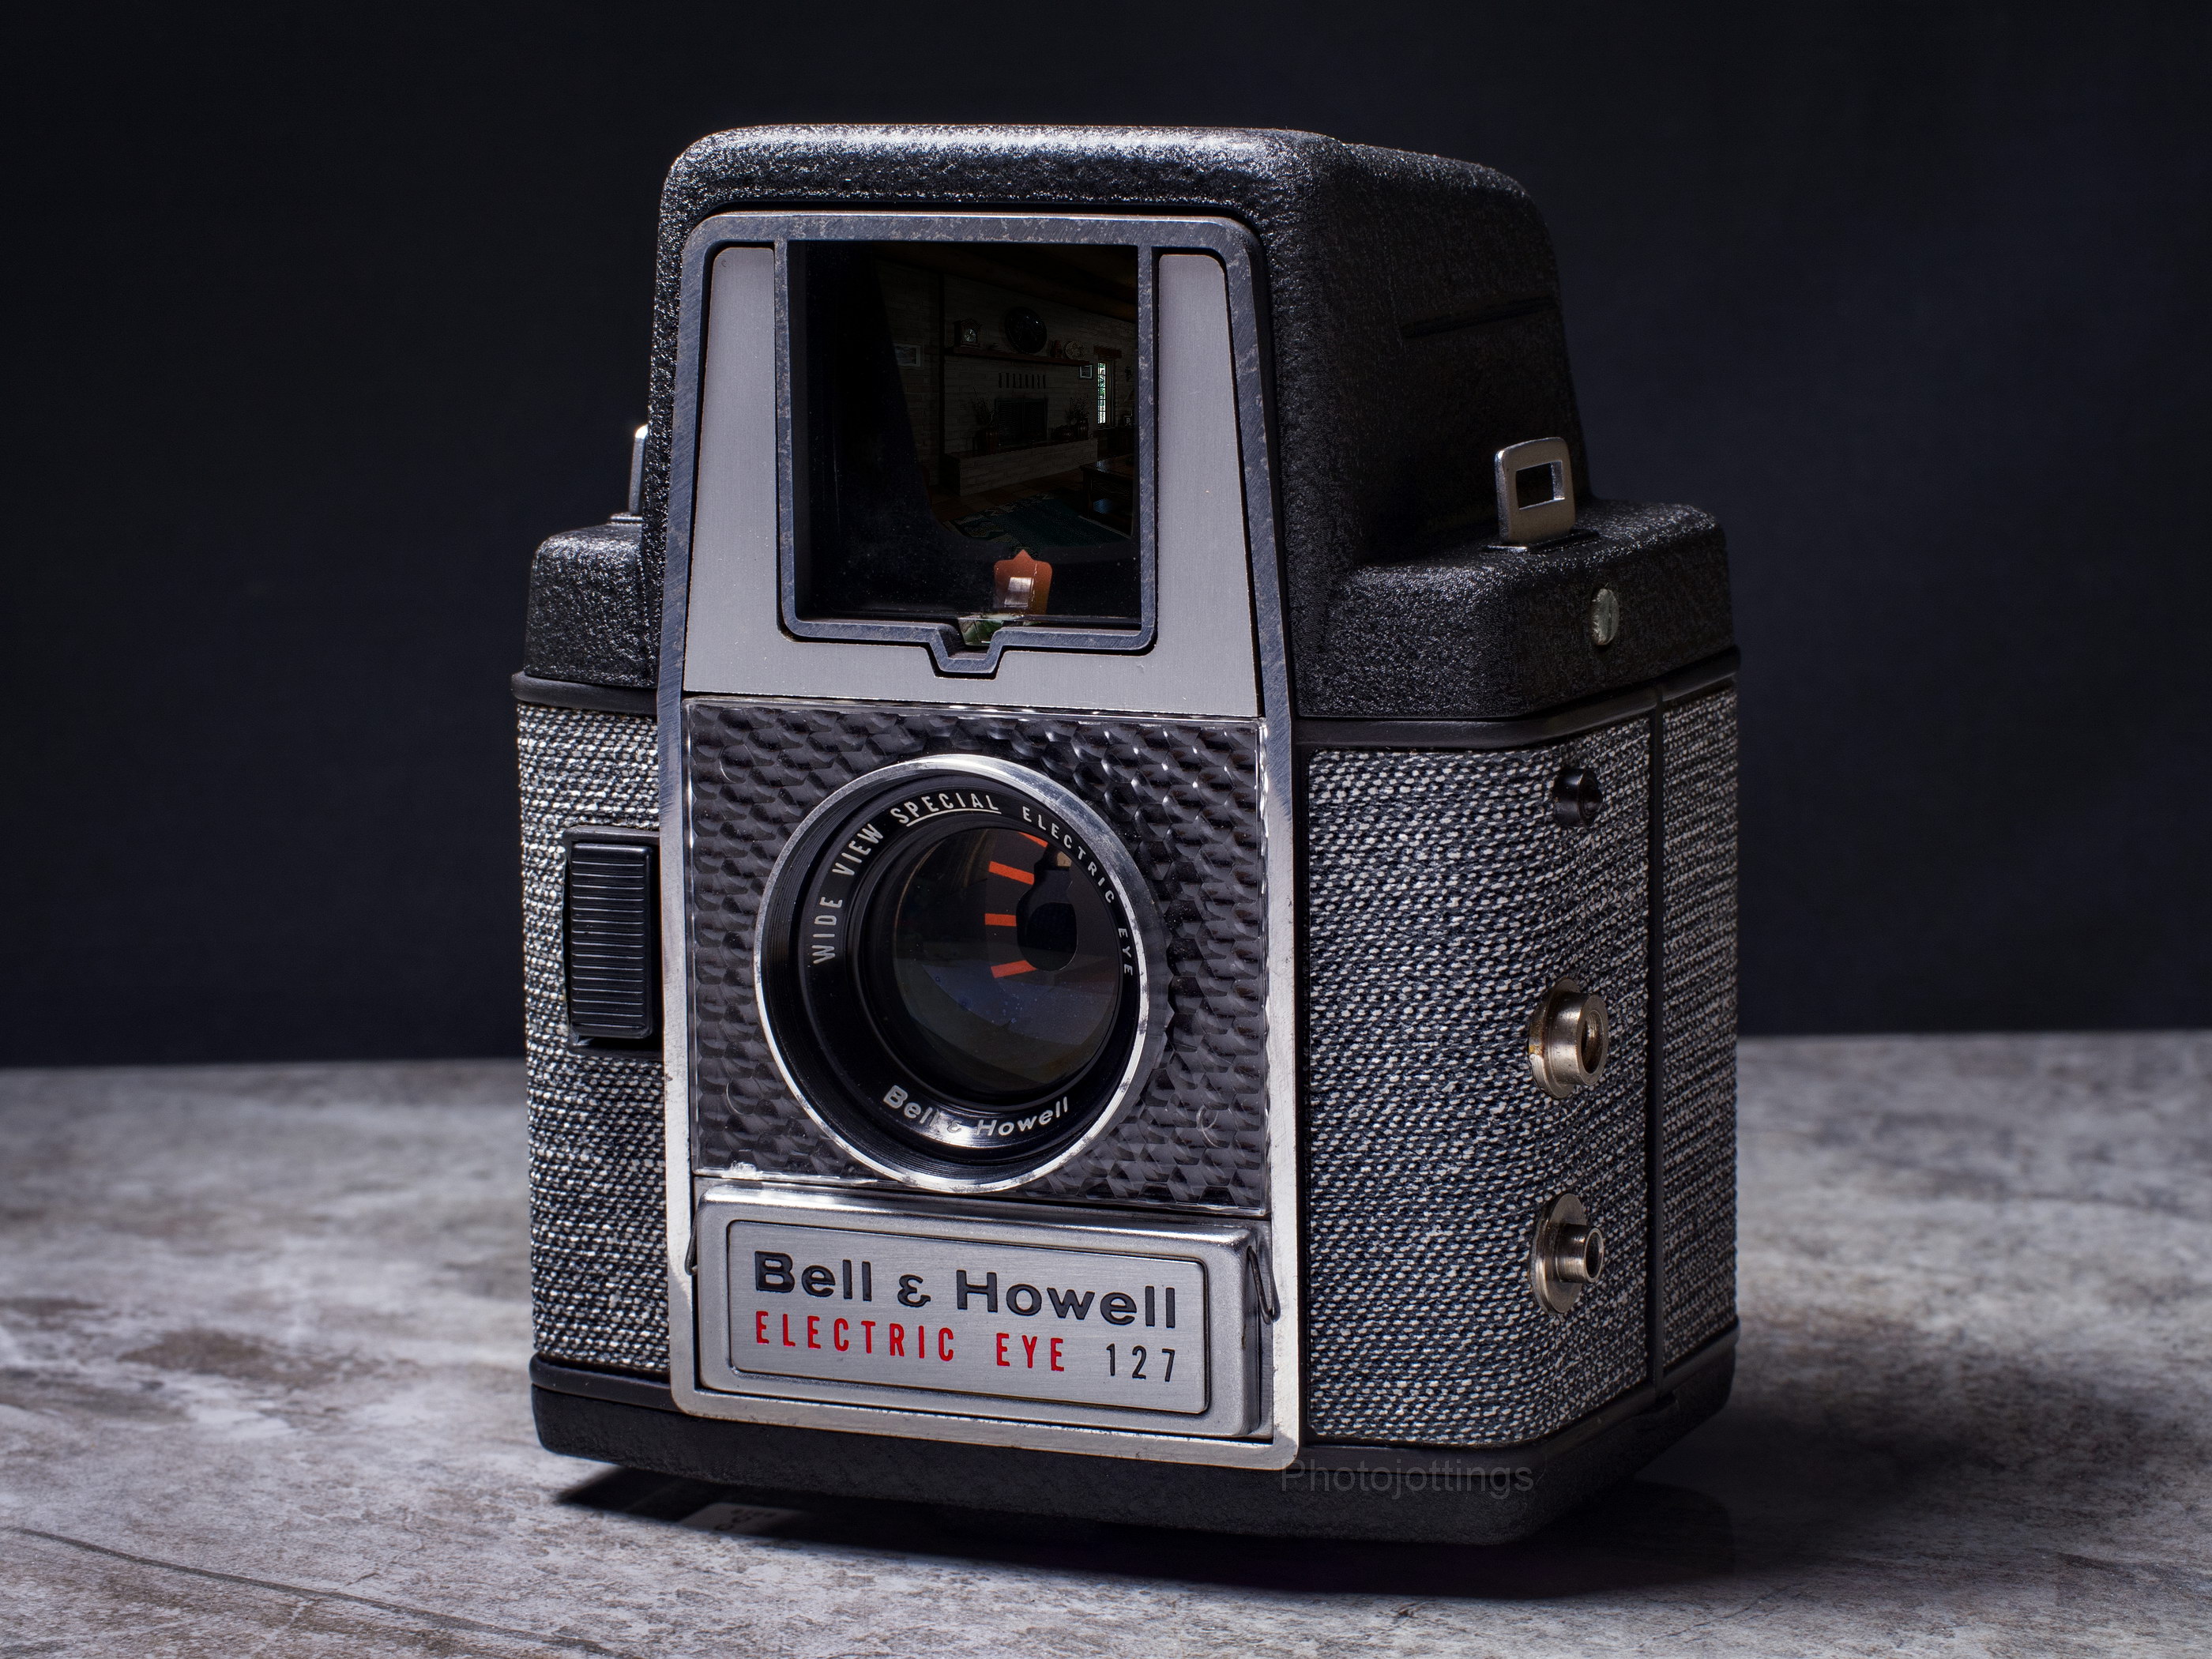
The front of the camera has the shutter button (black rectangle) on the right side as you hold it. The wide view lens has a metal plate with red lines inside that moves and adjusts the aperture according to available light; in the picture it’s wide open at F/8. The automatic exposure meter on my copy doesn’t work right.
The ring around the lens is 36.5mm on the outside, and you may be able to use some slip-on filters.

There isn’t much to show on the back of the camera other than the square viewfinder opening, (top) and the red advance window (below). The red button on top of the flash is for popping out the hot bulb after it blows. The cover on the back of the flash comes off (via black button on the bottom), so you can install the 504/220A battery.

Turning the film setting dial swings a cover over the exposure meter for higher rated ASA films. If your exposure meter doesn’t work right or is dead, don’t bother with this adjustment, it won’t make any difference. You can’t see it here, but the open setting has a white O, and a red triangle for setting the exposure meter to the chart on the bottom of the camera.
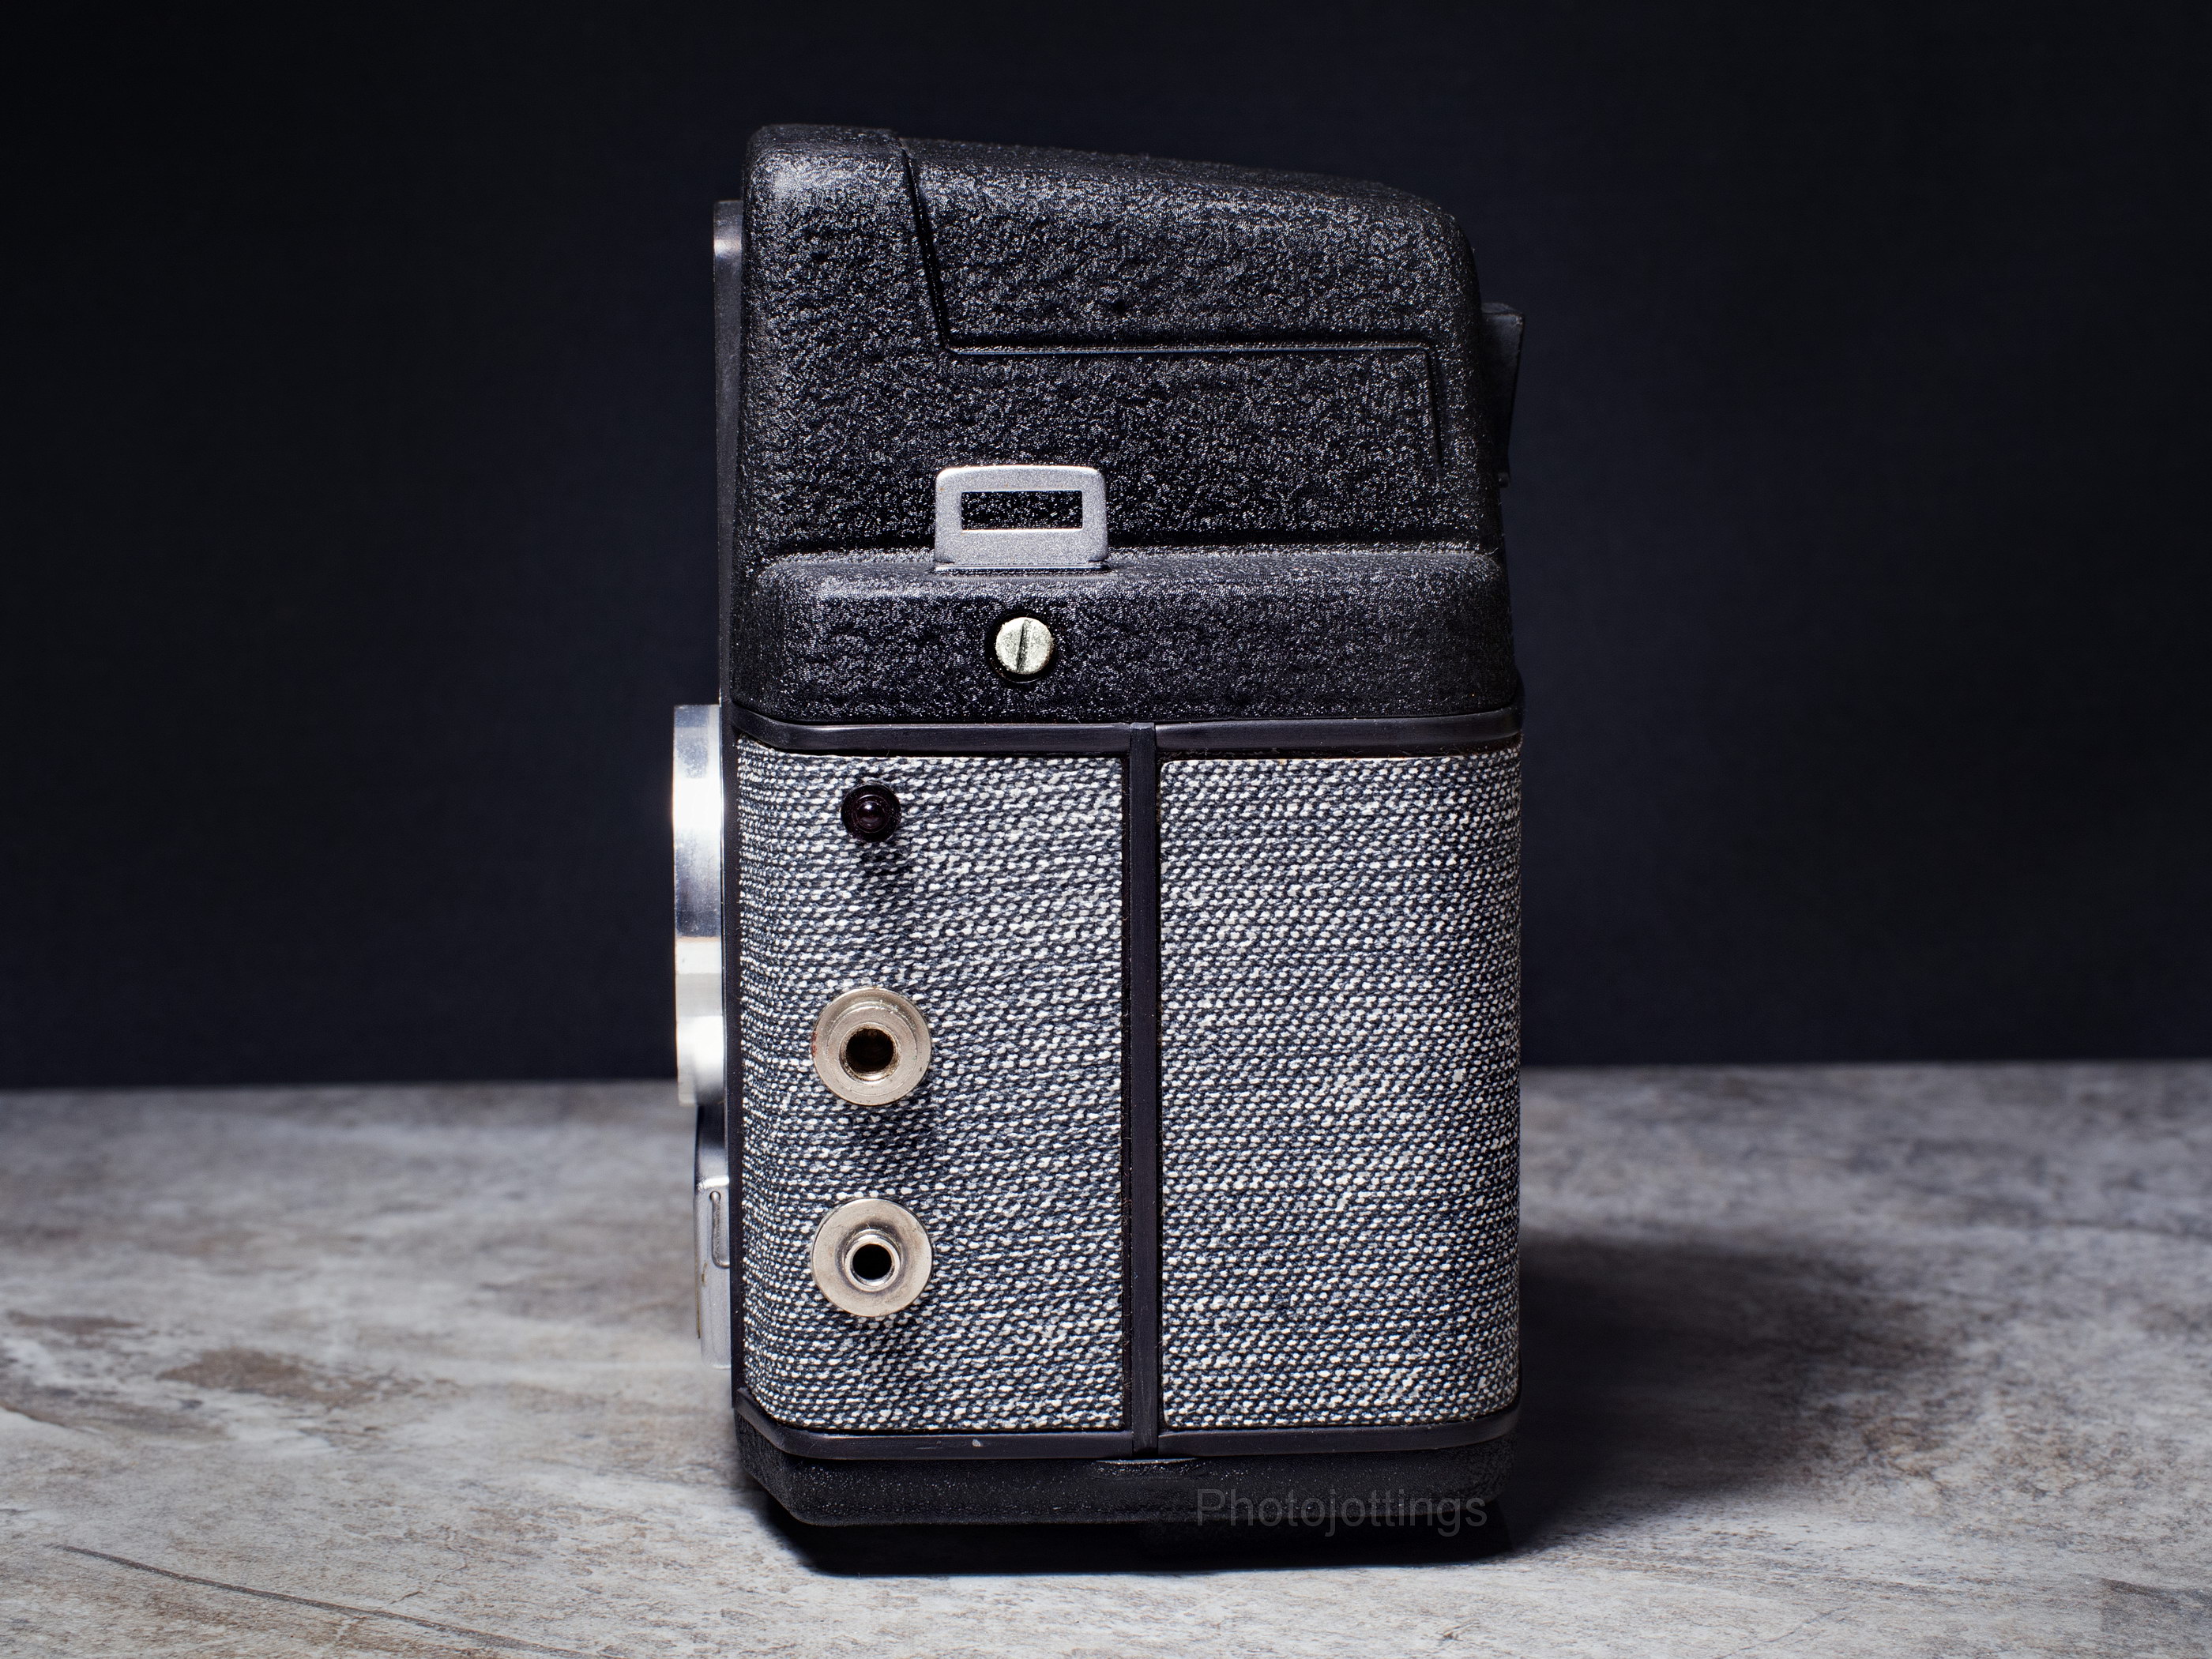
Flash contacts on left side are from top to bottom: Alignment pin, mounting nut, and contact pin receptacle.

On the bottom we have the ¼-20 tripod socket on the top left, the opening/lock knob in the middle, and the film winder.
The panel shows you the settings to use for your film type. The red triangle Δ and white circle Ο match up with marks on the ‘film setting’ dial by the viewfinder. The chart also indicates what type of flash bulb to use; ‘B’ for blue, and no color for clear type.
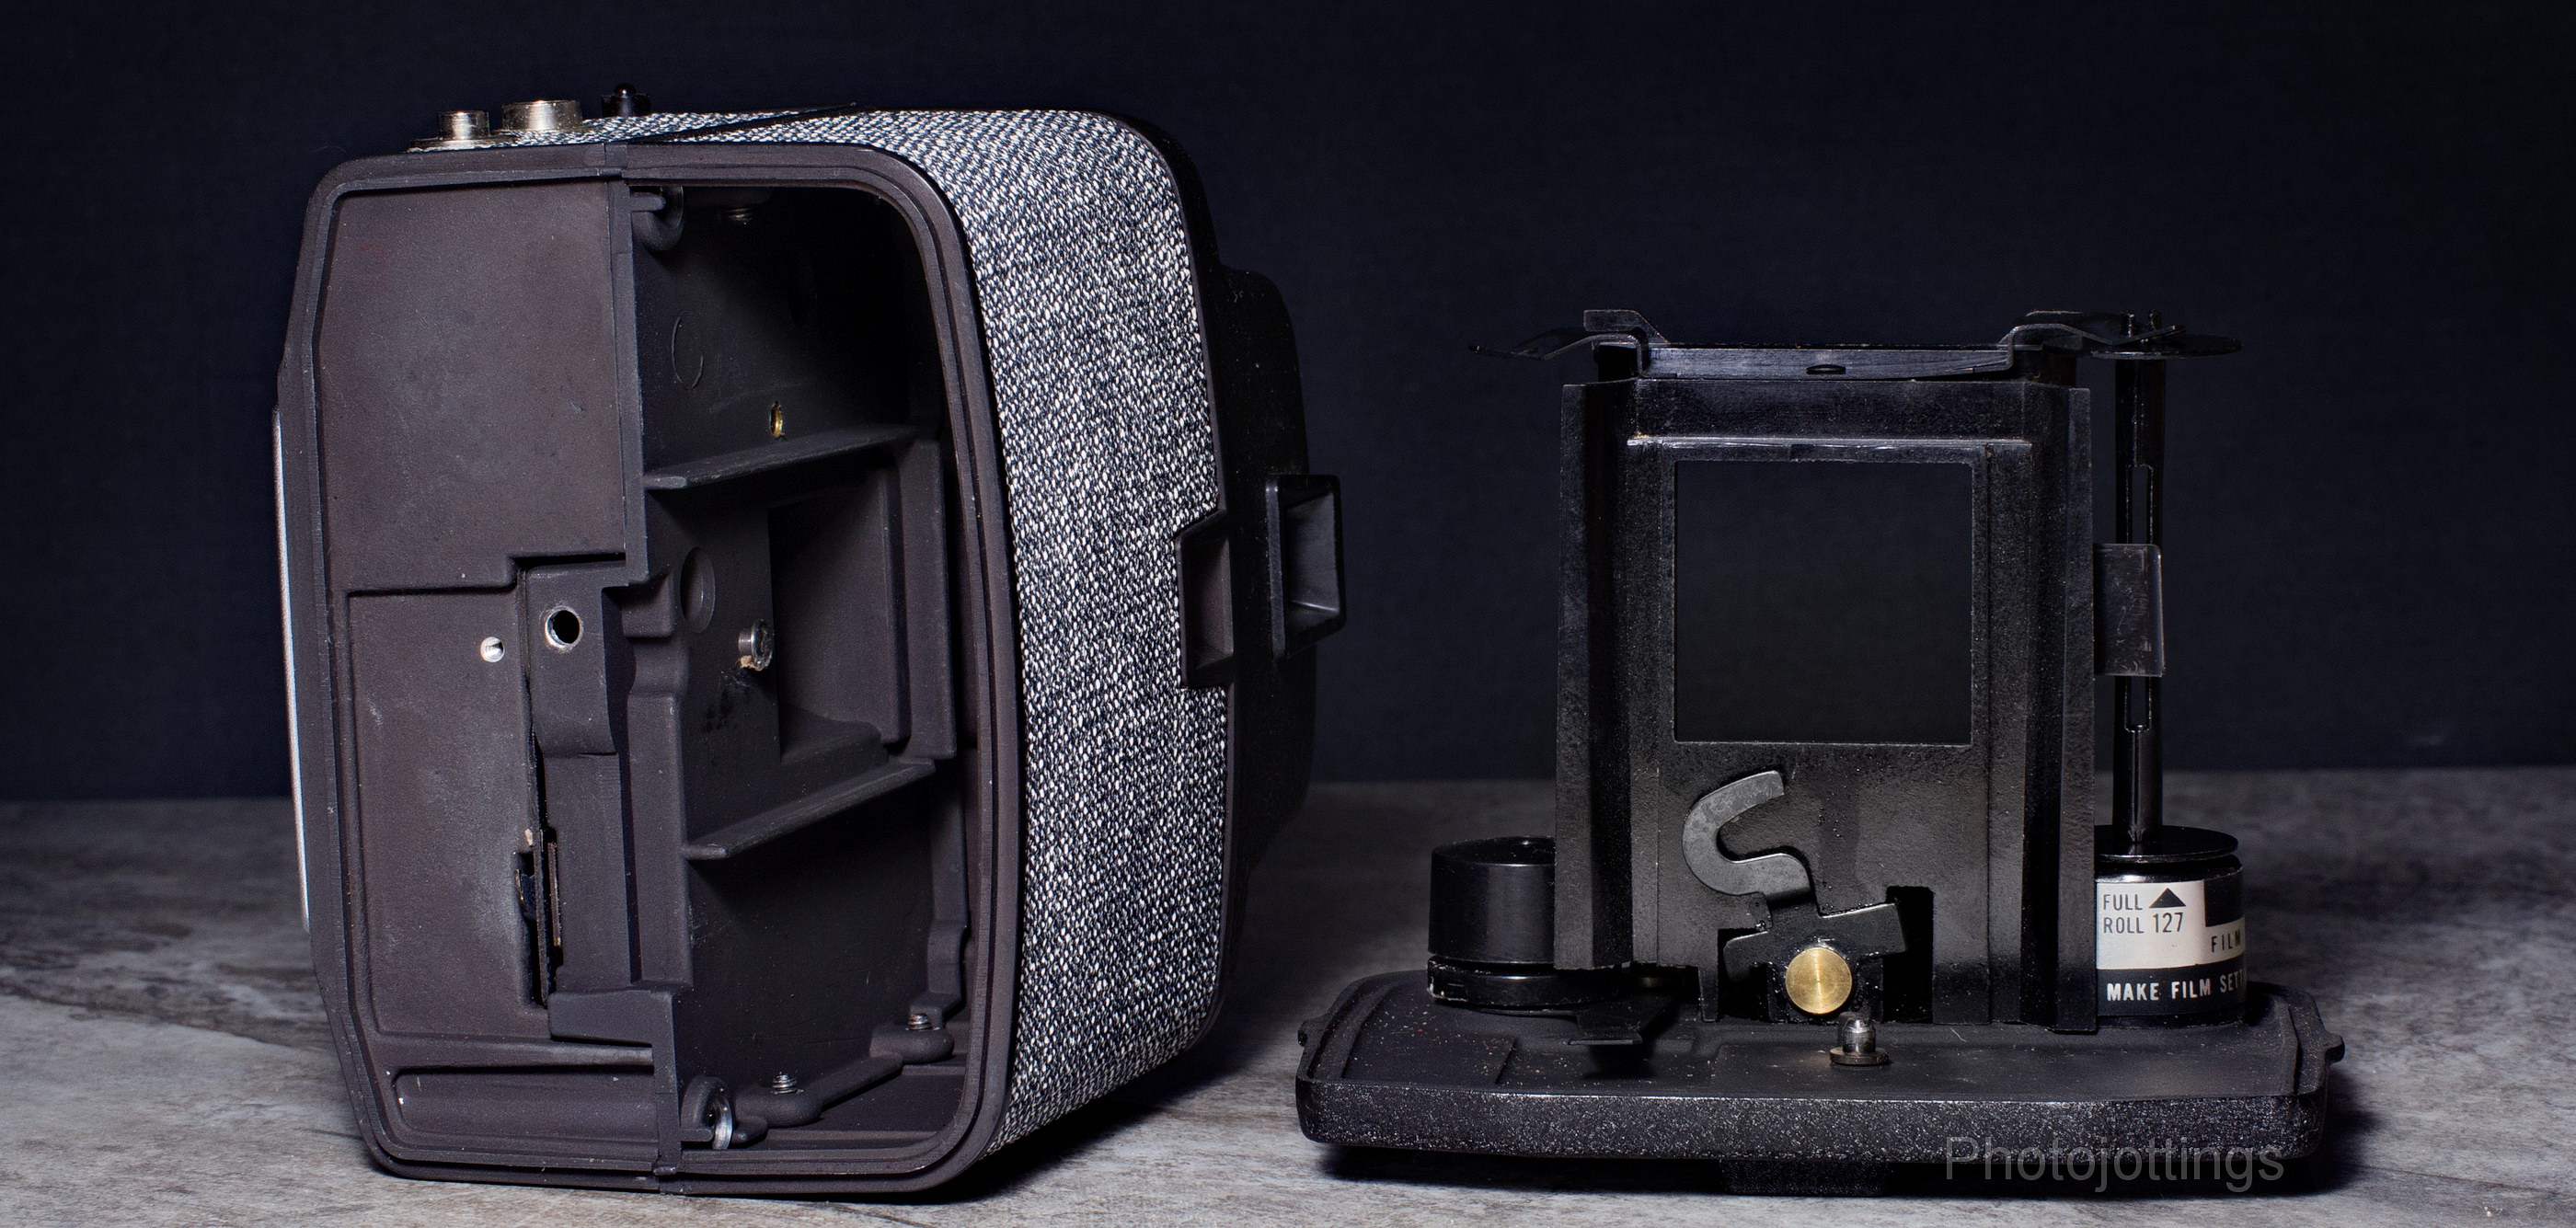
The entire bottom drops out of the camera after you turn the ‘open’ knob. You load the film first in the film carrier, then insert the whole assembly back inside the camera and lock the knob. You can’t see it here, but the film gate is curved, which is common on really cheap cameras, and that worried me when I was loading up my first roll. This same type of camera has a curved film gate and is really soft around the image periphery.

With the flash setting cover open, we can see the red and white marks that correspond to the chart on the bottom of the camera, this is how you set the camera up for flash exposures. This slider manually adjusts the aperture, and is a good way to compensate exposures when the meter doesn’t work right, or you have some ISO 400 film loaded up. If you want automatic operation, you line up ‘EE’ with the yellow arrows. The cover will not close on any setting other than automatic operation; the yellow figures all lined up.
Roughly, the center of the zones where the white circle and red triangle are located represent the following; at 13/21–F/8. 9/15—F/11. 6/10—F/16. 5/8—F/22, shown above. 3/5—F/32, number 4 is not within reach of the center markers. The camera can be stopped down to about F/45 in auto mode only.
Here are some bad test images scanned on a Nikon Super Coolscan 9000 ED. All are 3000 pixels square; there is no additional resolution from scanning at a higher sample rate. Kodak Portra 400 used for all shots. Click for larger images.

Holy cow, what a disastrous mess, the lines on this garage door should be straight. The distortion (or loose film over the gate?) signature is so awful it almost makes the camera unusable for architectural type of shots.

This image was taken at F/22, or the setting as you see it in the last product shot above. Pretty sharp, but the colors are lacking.

Take with the lens wide open at F/8; notice the very soft sides and awful colors. The camera probably chose this aperture quite often back in the day of ASA 32 to 80 film speeds, so this most likely represents the typical quality you got out of the camera.

The same scene using the F/22 (5/8) setting. The color is still poor, but the whole image sharpens up substantially, and would be usable for small to medium sized prints.
Conclusion.
The Bell & Howell Electric Eye 127 is a very smart looking camera, this one all dressed up in tweed, that’s why I bought it, and it quickly came to be one of my favorites to display; but not really to use. I do like the camera, it takes decent pictures when it’s stopped down, but the color and distortion, either from lens or film flatness issues are just too awful to run another roll through it. I used some cut and respooled Kodak Portra 400 film, that’s why I was able to shoot this camera at F/22 in good light and get proper exposures; otherwise with ISO 100 film you’d be under-exposing at the same aperture, and most likely would be using F/8; unfortunately we know what that looks like by the picture above. You can solve the awful color issue by using B&W film, Kodak T-Max or Tri-X 400 would be excellent if you can find it in 127 rolls. Try these links and good luck; B&H, or Ebay. Mike Eckman’s site has some B&W sample photos at the bottom.
As a side note; the flash works just fine with a good battery, I took a few pictures of friends, (shy folks so I can’t show them), and they were all exposed properly using the guide on the bottom of the camera. If you want to get people excited about getting their picture taken, just pull out a camera and flash like the ‘Electric Eye’ and start blasting those bright bulbs; then listen to them complain about the yellow dot they see for the next 15 minutes!! Warning; don’t get too close to people’s faces when taking flash bulb pictures, sometimes the bulbs explode and send glass shards all over the room!! Better yet, get a clear plastic cover for the flash head.
Anyhow, I enjoyed running a roll through the “infallible” Electric Eye camera, but I think I’ll save the rest of my 127 film for other projects, and keep the tweed Electric Eye for showing off to friends and family.
That’s it for this review, please consider buying your goodies through my links, doing so helps support the site, thanks!